Asphalt Driveway Striping | How To
How to Do Asphalt Driveway Striping
Introduction
Asphalt driveway striping is an important maintenance task that helps improve the appearance and functionality of your driveway. Follow these steps to ensure a successful striping project.
Materials Needed
- Asphalt striping paint
- Measuring tape
- Chalk or marking spray
- Paint roller or striping machine
- Paintbrush
- Stencils (optional)
- Paint thinner (for cleanup)
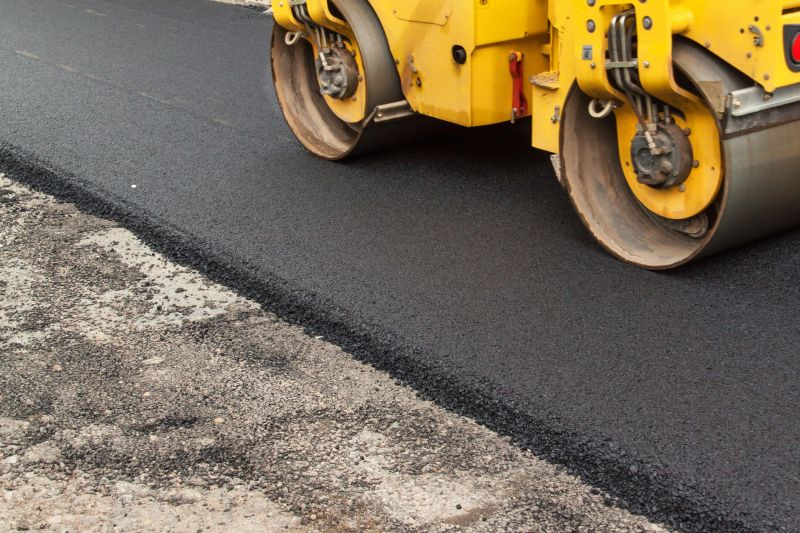
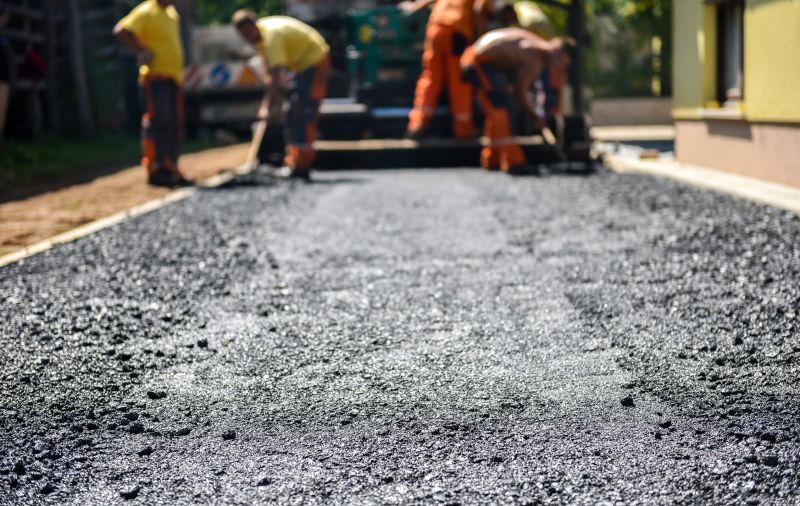
Step 1: Clean and Prepare the Driveway
Thoroughly clean the driveway surface by removing any dirt, debris, or loose asphalt. Sweep or pressure wash the area to ensure a clean surface for striping.
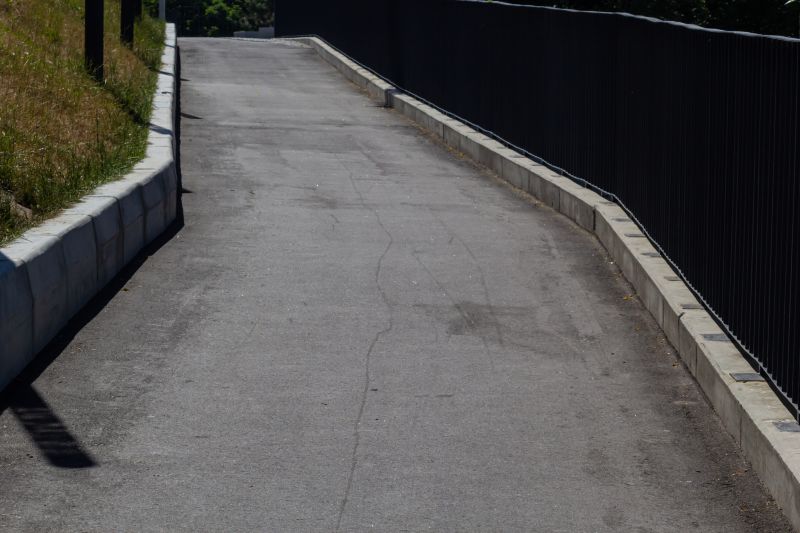
Step 2: Measure and Mark the Layout
Using a measuring tape, determine the desired width and length of the stripes. Mark the layout on the driveway using chalk or marking spray. Consider using stencils for more precise and uniform markings.
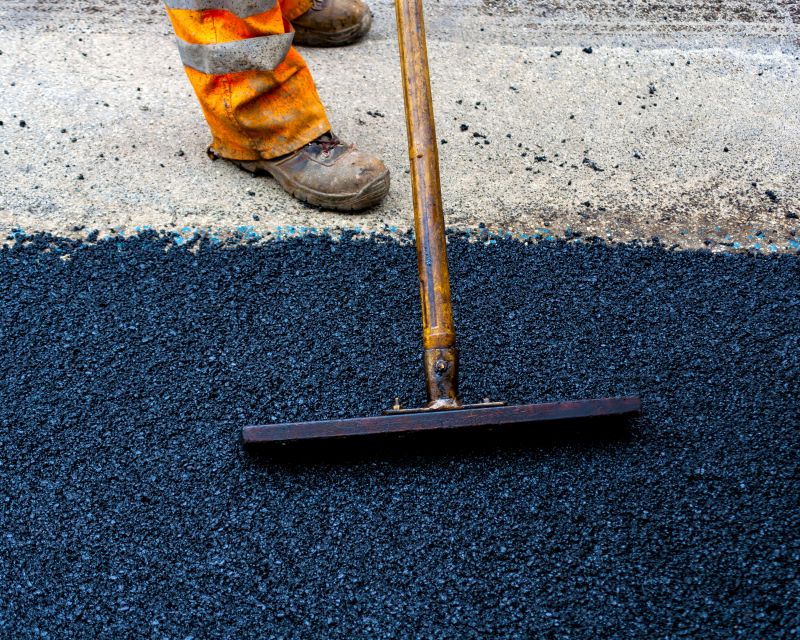
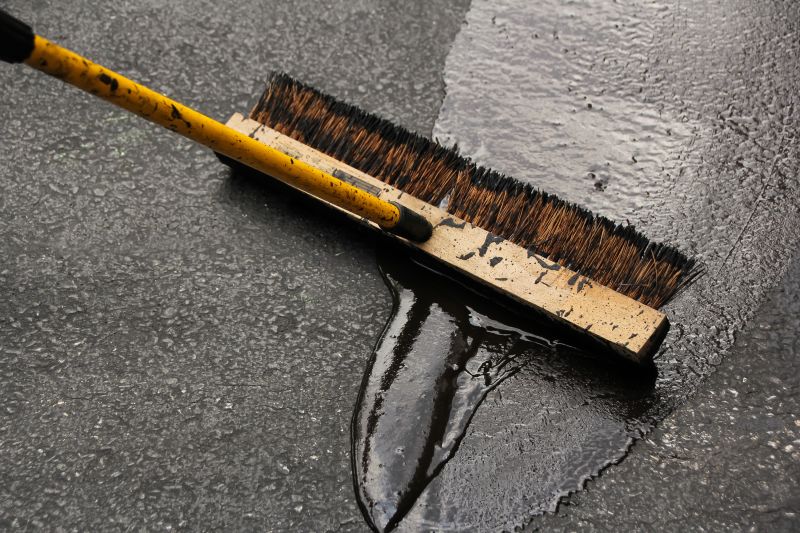
Step 3: Mix and Apply the Striping Paint
Follow the manufacturer's instructions to properly mix the asphalt striping paint. Pour the paint into a paint roller tray or striping machine. Use a paint roller or striping machine to apply the paint along the marked lines. For more intricate designs or curved lines, use a paintbrush.
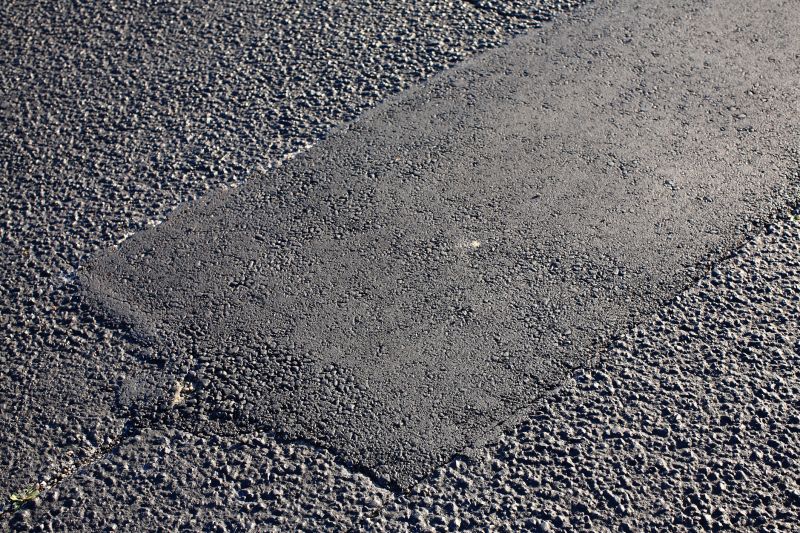
Step 4: Allow the Paint to Dry
Allow the striping paint to dry completely before allowing any traffic on the driveway. Follow the recommended drying time provided by the manufacturer.
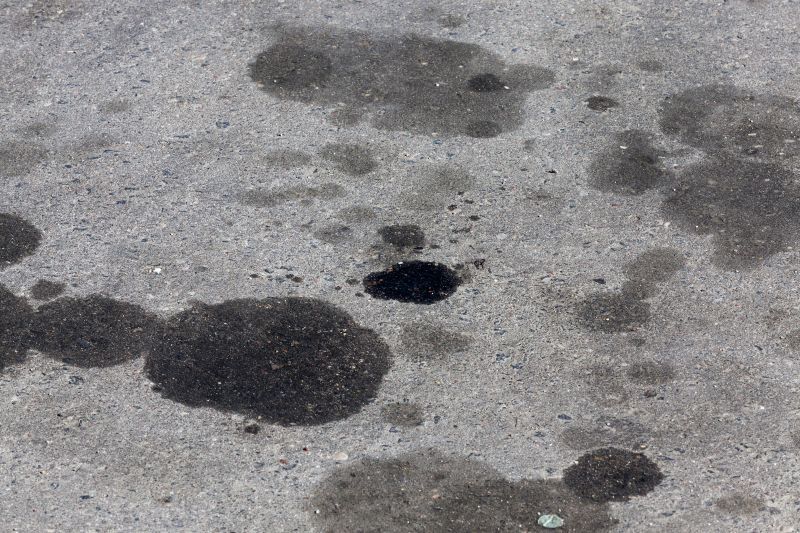
Step 5: Clean Up
Clean up any spilled or excess paint using paint thinner or the recommended cleaning solution. Dispose of all materials properly.
Conclusion
By following these steps, you can successfully stripe your asphalt driveway, enhancing its appearance and providing clear markings for parking or traffic control. Regular maintenance and re-striping will help keep your driveway looking fresh and well-maintained.