Asphalt Driveway Curb Installation | How To
How to Install an Asphalt Driveway Curb
Introduction
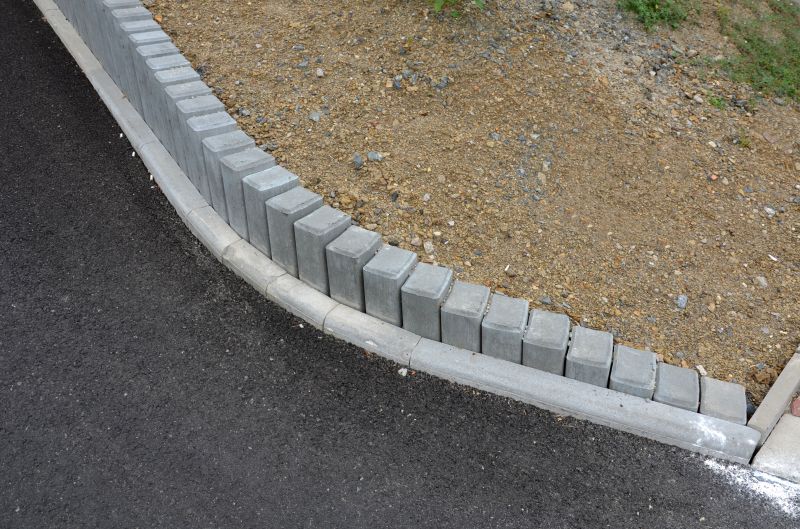
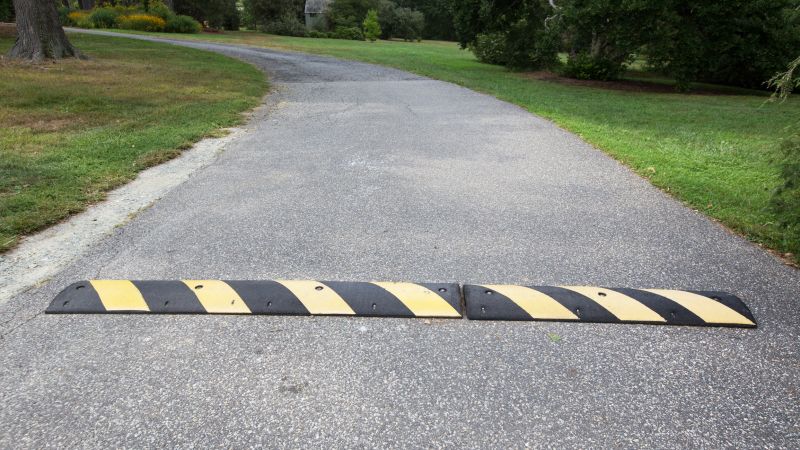
Installing a curb along your asphalt driveway can help enhance its appearance and provide a clear separation between your driveway and the surrounding landscape. Follow these steps to install an asphalt driveway curb.
Materials You'll Need
- Asphalt mix
- Curbing forms
- Shovel
- Trowel
- Wheelbarrow
- Hand tamper
- Level
- Water hose
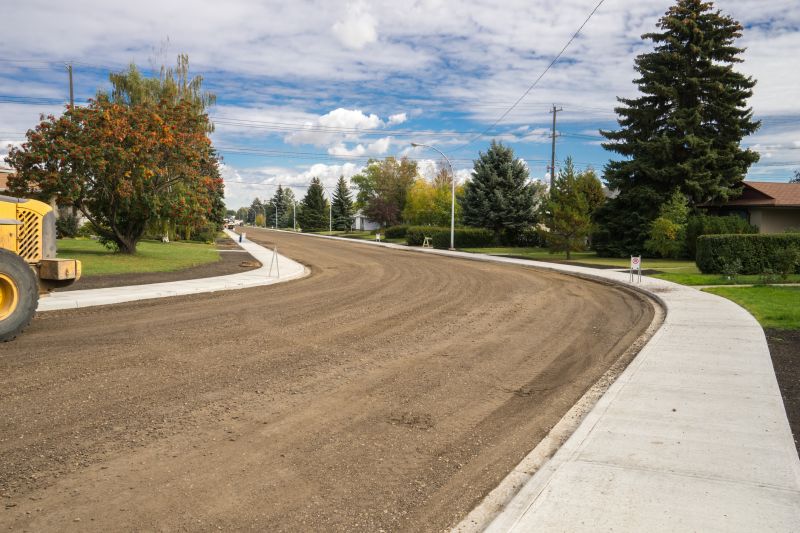
Step 1: Prepare the Area
Start by marking the desired location for your curb using stakes and string. Remove any vegetation or debris from the area, and ensure the ground is level.
Step 2: Mix the Asphalt
Follow the manufacturer's instructions to mix the asphalt. You can use a wheelbarrow or a mixing machine for this step. Make sure the mixture is well-blended and has a workable consistency.
Step 3: Install the Curbing Forms
Place the curbing forms along the marked area, ensuring they are properly aligned and secured. Use a level to ensure the forms are even and straight.
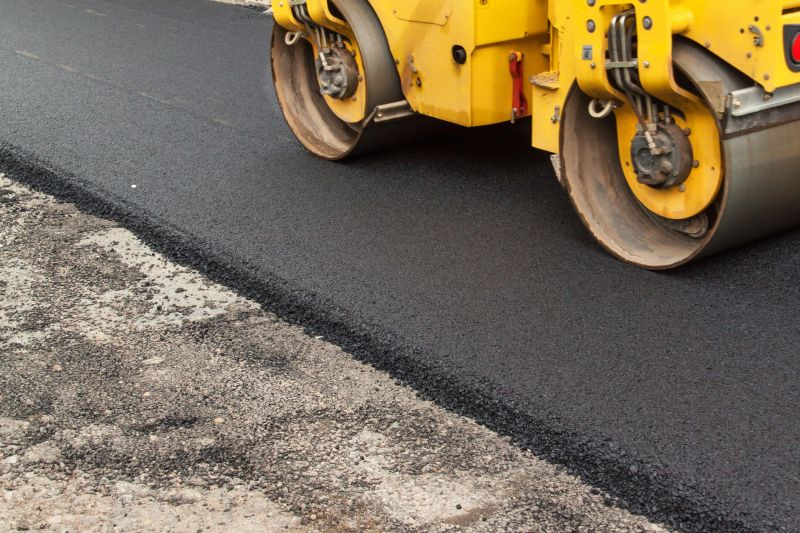
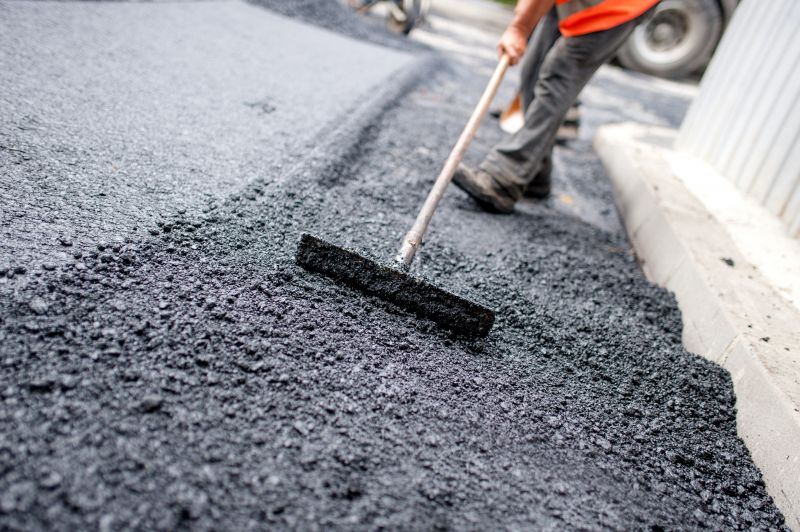
Step 4: Pour the Asphalt
Slowly pour the mixed asphalt into the curbing forms, making sure to fill them completely. Use a shovel and trowel to spread and shape the asphalt as desired.
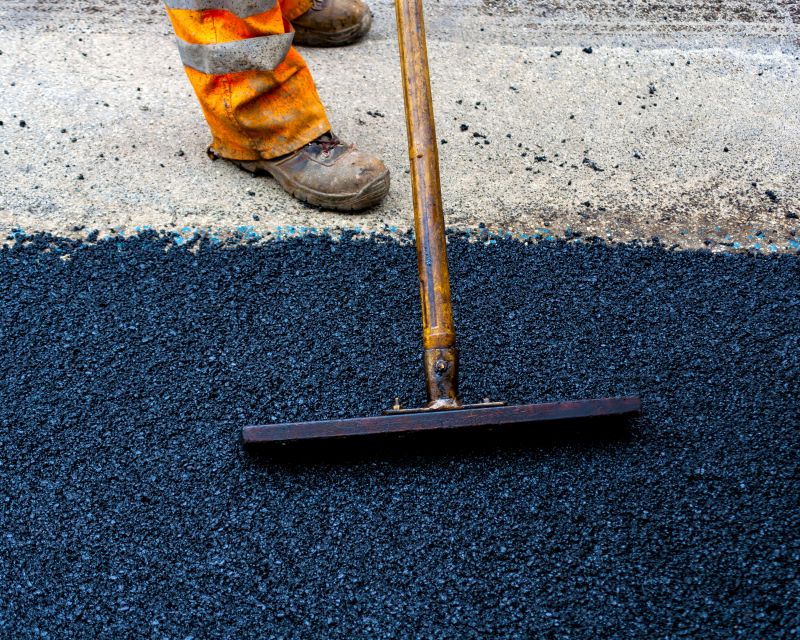
Step 5: Compact and Smooth
Use a hand tamper to compact the asphalt and remove any air pockets. Smooth the surface with a trowel, ensuring it is level and even.
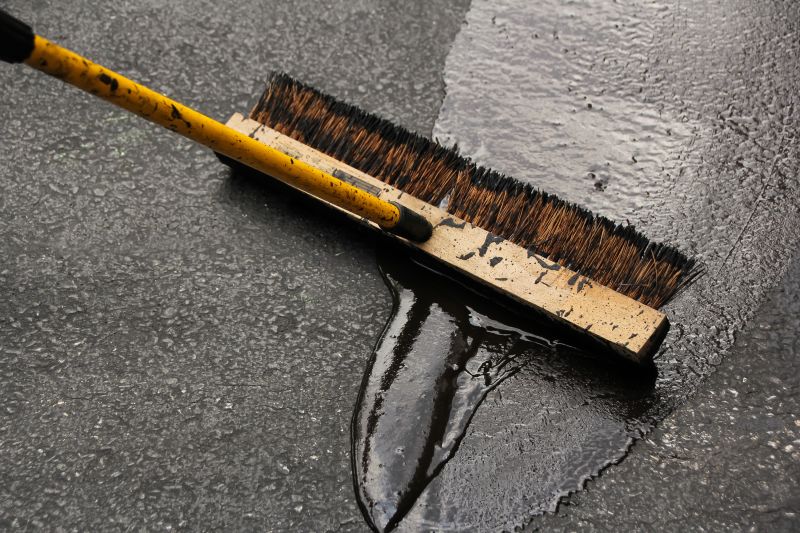
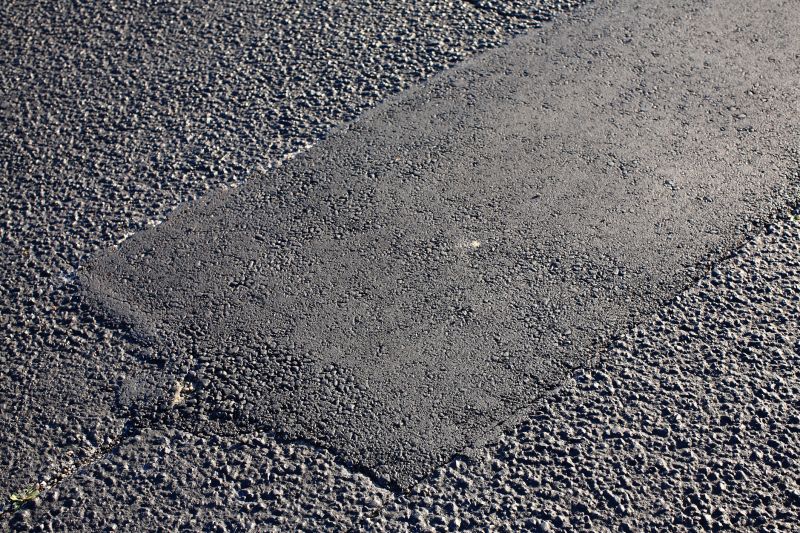
Step 6: Cure and Finish
Allow the asphalt to cure according to the manufacturer's instructions. This usually takes a few days. Once cured, remove the curbing forms and clean up any excess asphalt. Use a water hose to rinse off the surface and ensure a clean finish.
Conclusion
By following these steps, you can successfully install an asphalt driveway curb. Remember to take proper safety precautions and consult professional help if needed. Enjoy your newly enhanced driveway!