How to Do an Asphalt Driveway Extension
Step 1: Prepare the Area
Start by marking the area where you want to extend your driveway. Use spray paint or chalk to create clear boundaries.
Step 2: Excavate the Area
Using a shovel or an excavator, remove the top layer of soil and any vegetation from the marked area. Make sure to dig deep enough to accommodate the thickness of the new asphalt layer.
Step 3: Compact the Subgrade
Use a plate compactor or a hand tamper to compact the soil in the excavated area. This will provide a stable base for the new asphalt.
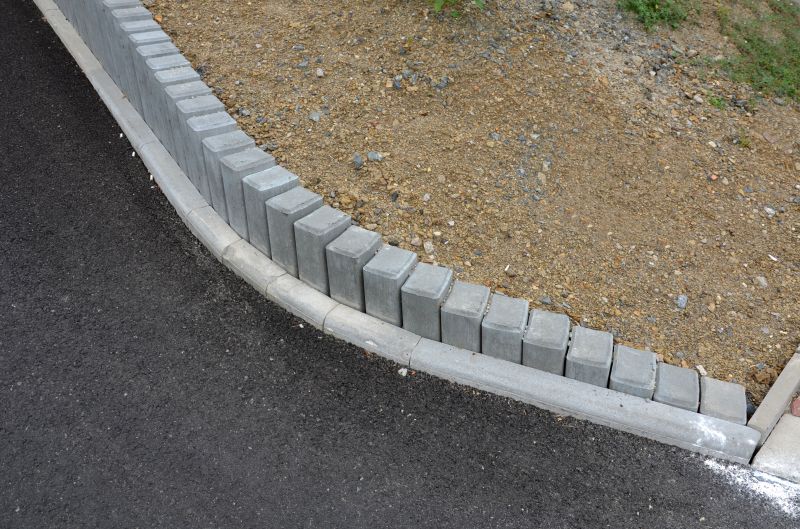
Step 4: Install Edging
Place plastic or metal edging along the sides of the excavation to prevent the asphalt from spreading beyond the desired area. Secure the edging in place using stakes.
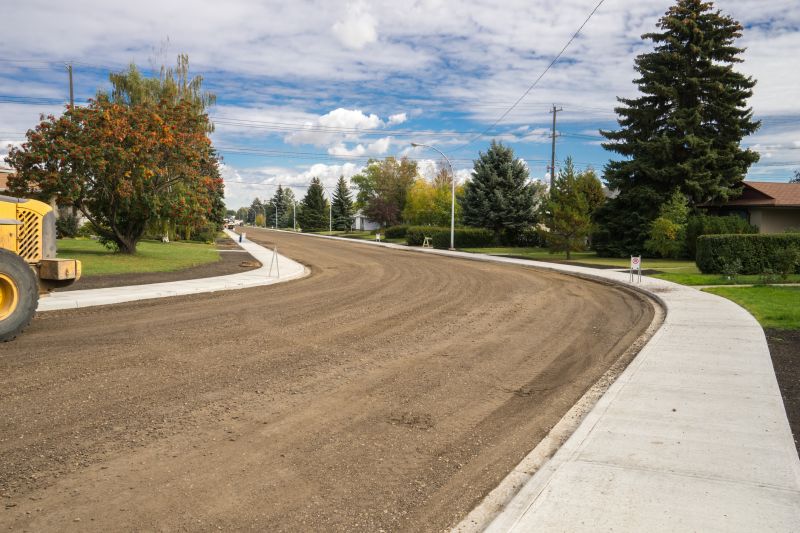
Step 5: Apply a Gravel Base
Add a layer of gravel to the excavated area and spread it evenly. Compact the gravel using a compactor or a hand tamper to create a solid foundation.
Step 6: Apply a Tack Coat
Apply a thin layer of tack coat to the exposed edges of the existing driveway and the gravel base. This will help the new asphalt bond securely to the old surface.
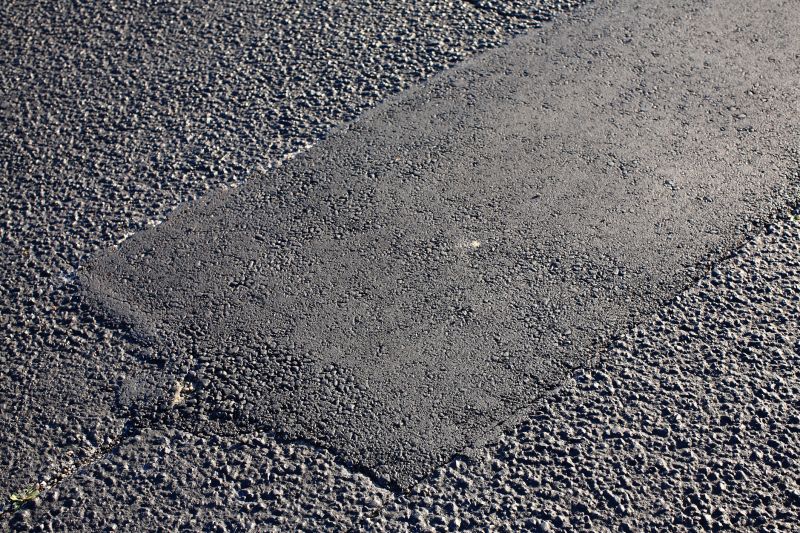
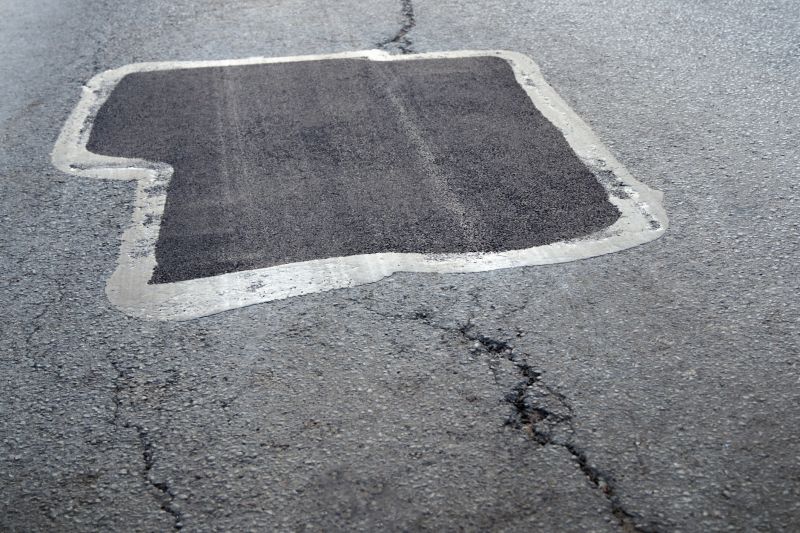
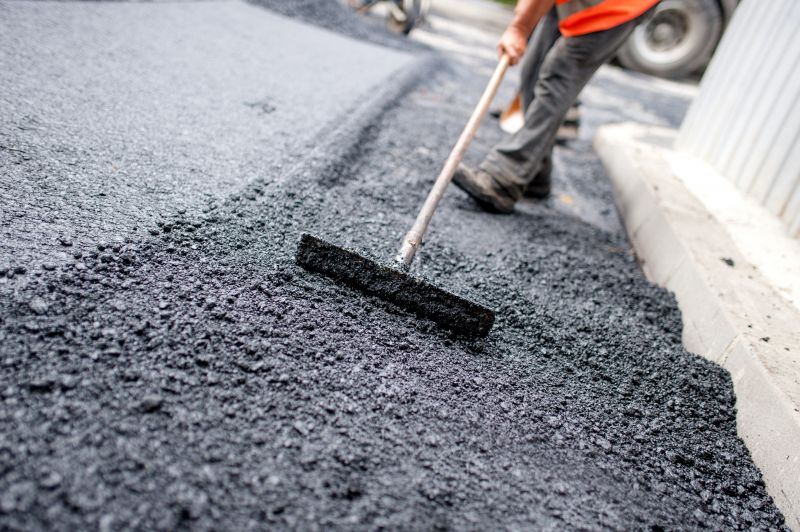
Step 7: Lay the Asphalt
Pour hot asphalt onto the prepared area and spread it evenly using a paving machine or a rake. Make sure the thickness is consistent across the entire extension.
Step 8: Compact the Asphalt
Use a vibratory plate compactor or a roller to compact the newly laid asphalt. This will ensure a smooth and durable surface.
Step 9: Allow for Curing
Allow the asphalt to cure for at least 24 hours before using the driveway. Keep vehicles and heavy objects off the surface during this time.
Step 10: Seal the Driveway
Once the asphalt has fully cured, apply a sealant to protect it from water, UV rays, and other elements. Follow the manufacturer's instructions for the best results.
Step 11: Clean Up
Dispose of any remaining debris and clean up the surrounding area. Your new asphalt driveway extension is now ready to use!
Remember to consult with professionals or local authorities if you have any specific regulations or requirements for driveway extensions in your area.