Asphalt Driveway Drainage Installation | How To
How to Install Asphalt Driveway Drainage
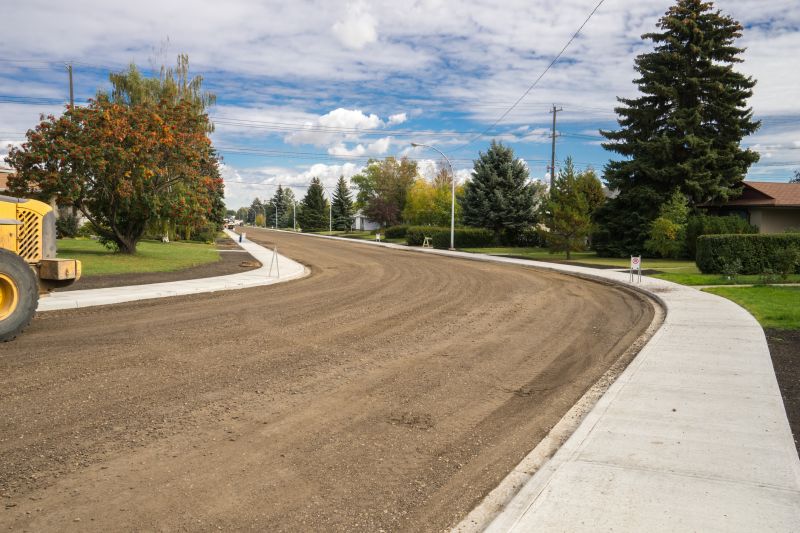
Step 1: Prepare the Area
Before installing the drainage system, make sure to clear the area of any debris or obstacles. This includes removing any existing pavement or vegetation.
Step 2: Determine the Drainage Layout
Decide on the placement and layout of the drainage system. Consider the slope of the driveway and the direction of water flow to ensure effective drainage.
Step 3: Dig Trenches
Using a shovel or excavator, dig trenches along the designated drainage path. The depth and width of the trenches will depend on the specific drainage system being installed.
Step 4: Install Drainage Pipes
Place the drainage pipes into the trenches, ensuring they are properly aligned and sloped to facilitate water flow. Connect the pipes using appropriate connectors.
Step 5: Add Gravel and Filter Fabric
Add a layer of gravel to the bottom of the trenches to provide a stable base for the drainage pipes. Cover the pipes with filter fabric to prevent sediment from clogging the system.
Step 6: Backfill the Trenches
Carefully backfill the trenches with soil, ensuring that the pipes and filter fabric are adequately covered. Compact the soil gently to avoid damaging the system.
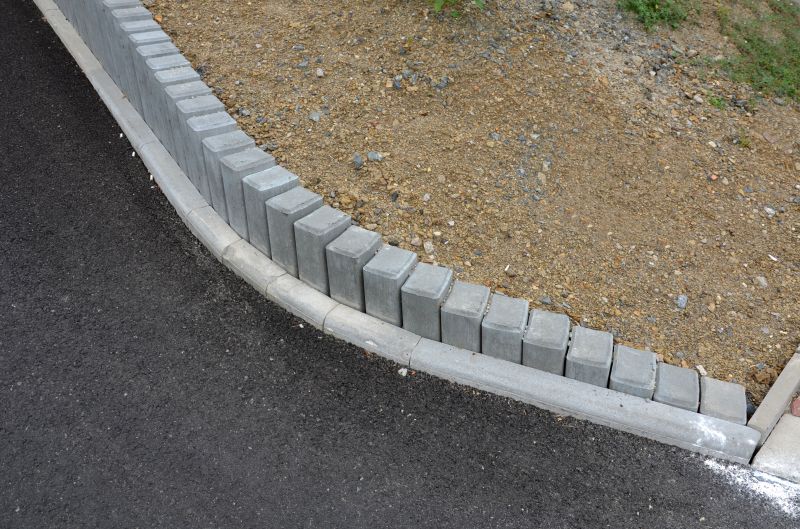
Step 7: Install Catch Basins or Drains
If necessary, install catch basins or drains at key points along the drainage path to collect and redirect water. Connect them to the drainage pipes using appropriate fittings.
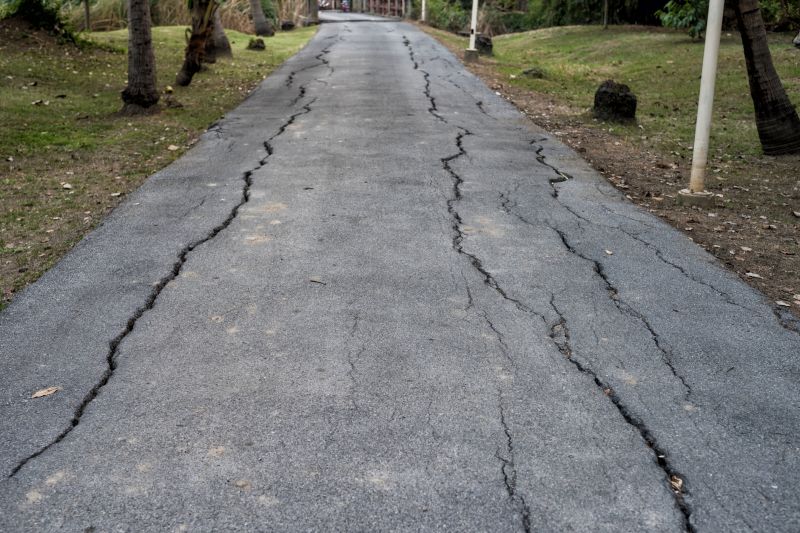
Step 8: Test the Drainage System
Once the installation is complete, test the drainage system by pouring water into the trenches. Observe the flow and make any necessary adjustments to ensure proper drainage.
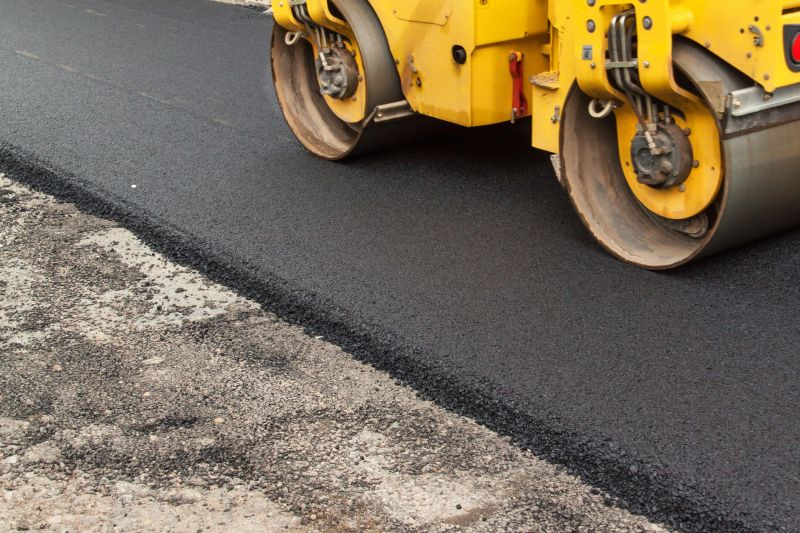
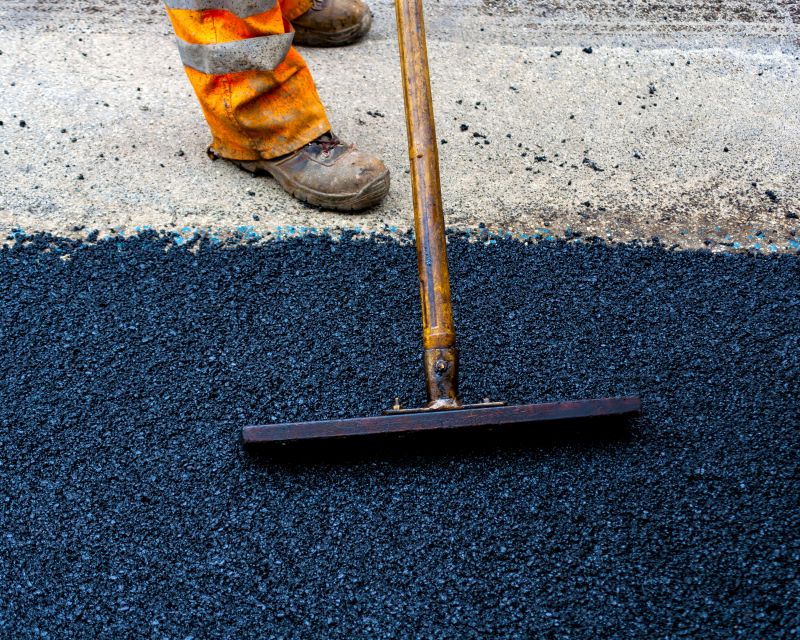
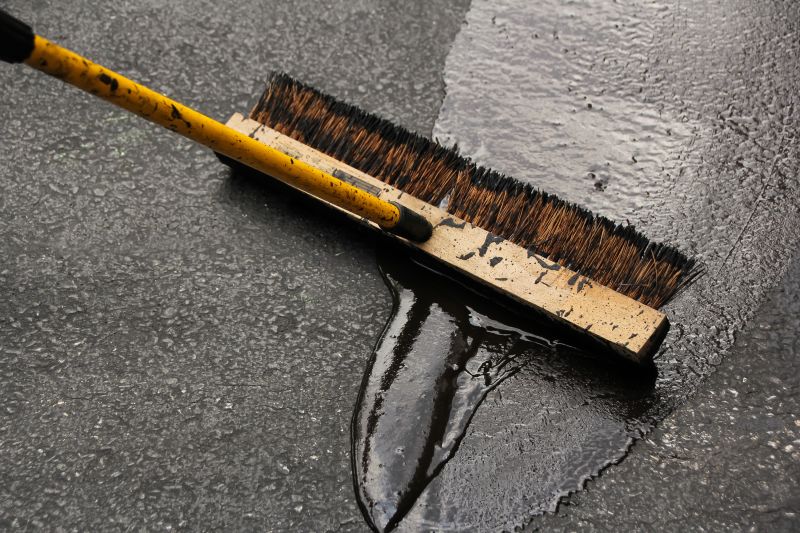
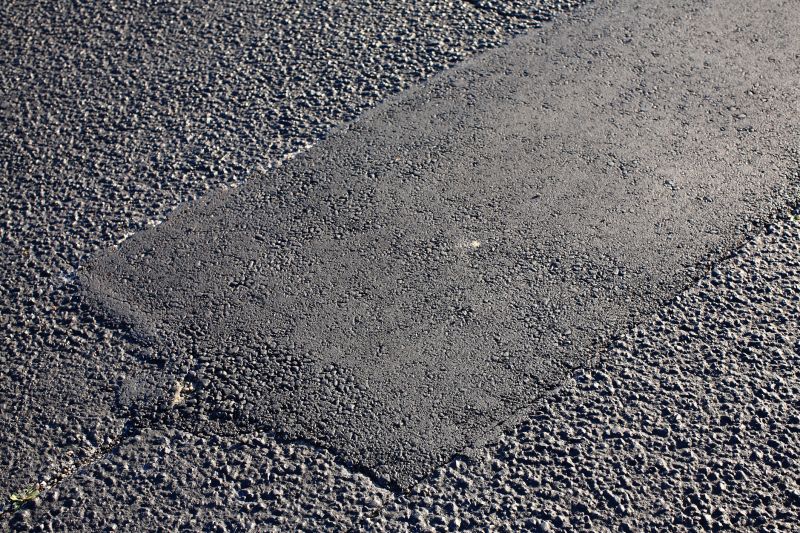
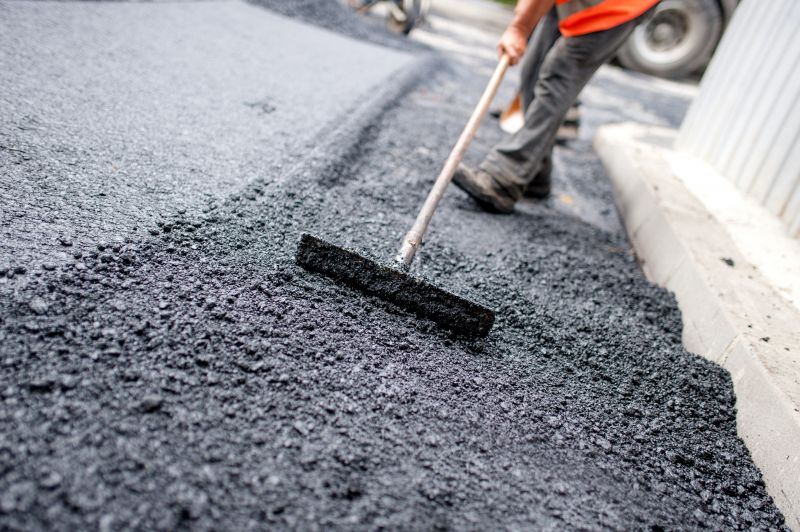
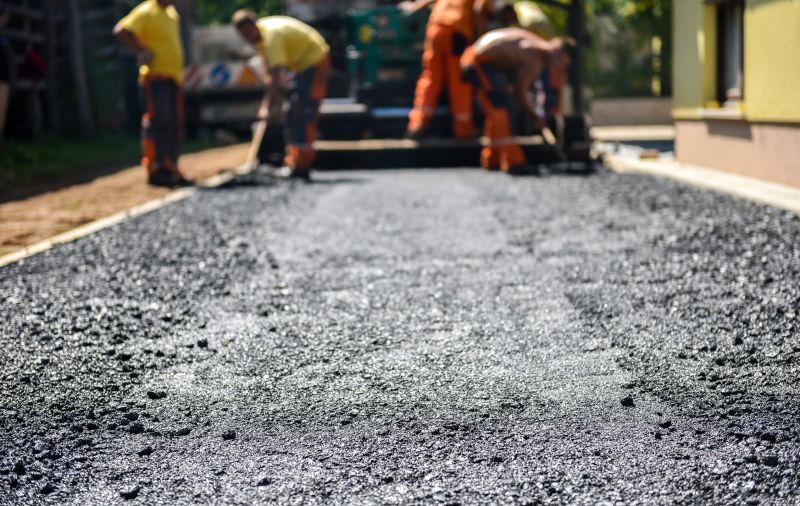
Step 9: Backfill and Finish the Driveway
Finally, backfill any remaining gaps or trenches with soil and compact it to match the surrounding area. If desired, apply a new layer of asphalt to complete the driveway installation.
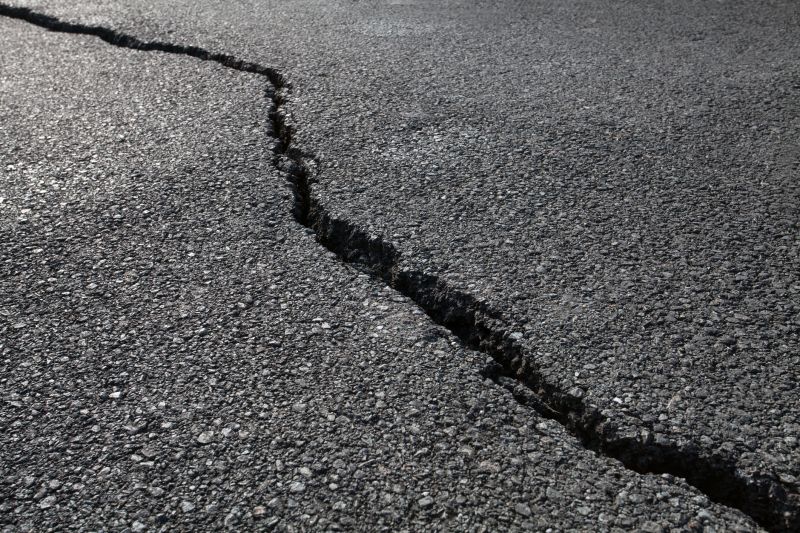
Following these steps will help you install an effective asphalt driveway drainage system, ensuring proper water management and preventing potential damage to your driveway.