How to Fill Asphalt Driveway Cracks
Introduction
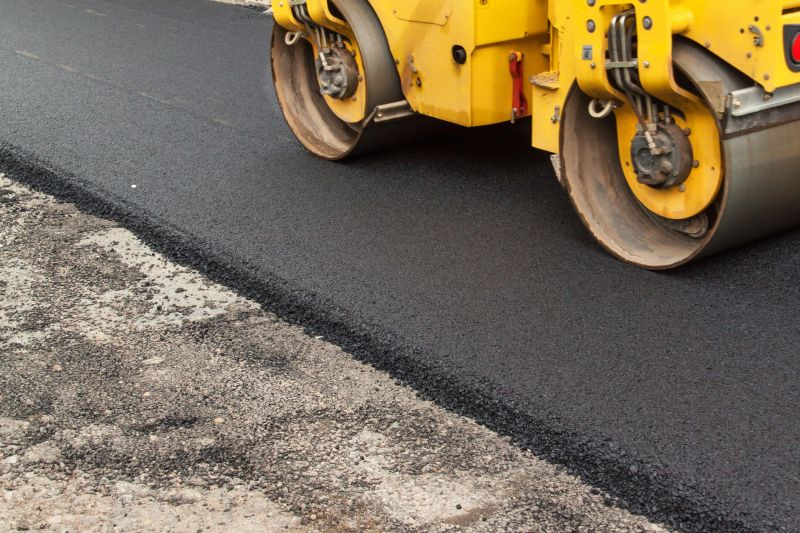
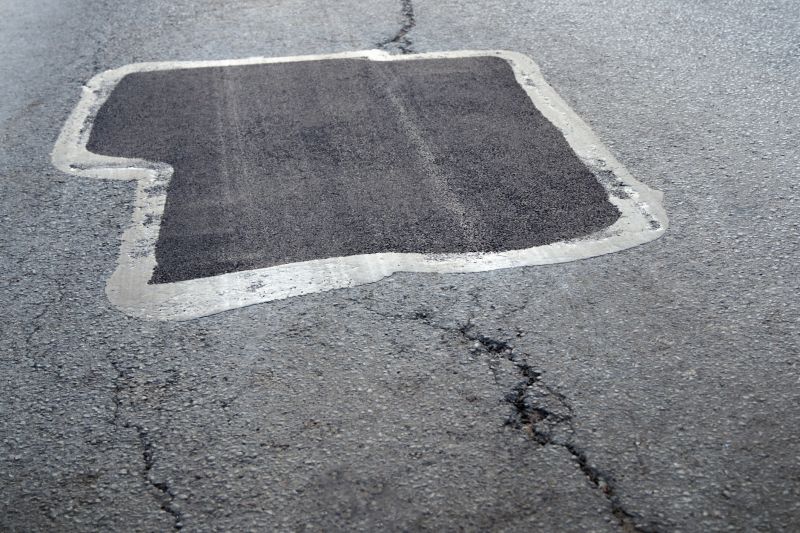
Asphalt driveway cracks are common and can lead to further damage if not repaired promptly. In this guide, we will walk you through the steps to effectively fill cracks in your asphalt driveway, ensuring its longevity and appearance.
Materials You Will Need
- Crack filler or asphalt patch
- Crack filling applicator (caulking gun or pour pot)
- Clean cloth or brush
- Protective gloves
- Safety goggles
Step 1: Clean the Cracks
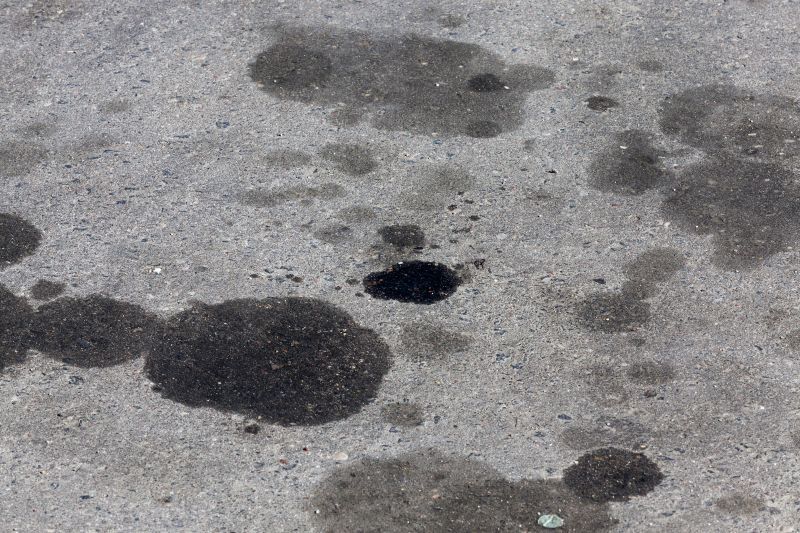
Before filling the cracks, it is important to clean them thoroughly to ensure proper adhesion of the filler. Use a clean cloth or brush to remove any loose debris, dirt, or vegetation from the cracks.
Step 2: Prepare the Crack Filler
Depending on the type of crack filler you are using, follow the manufacturer's instructions to prepare it. Some crack fillers may require heating or mixing before application.
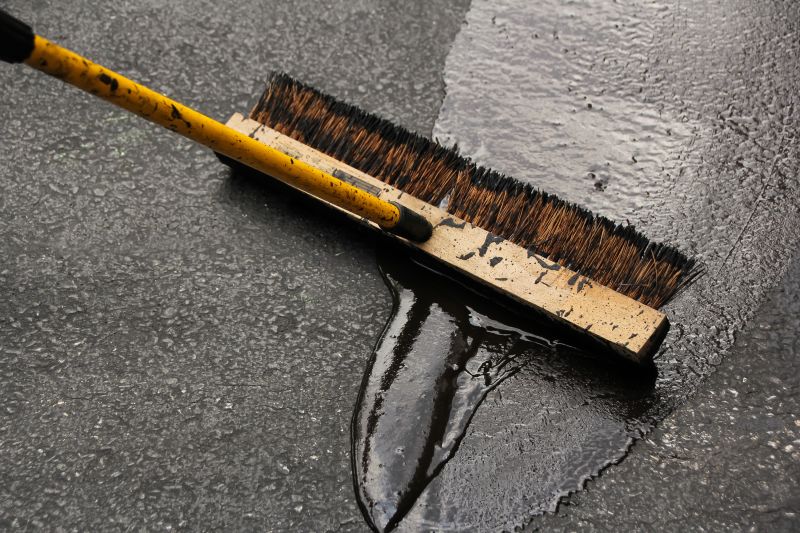
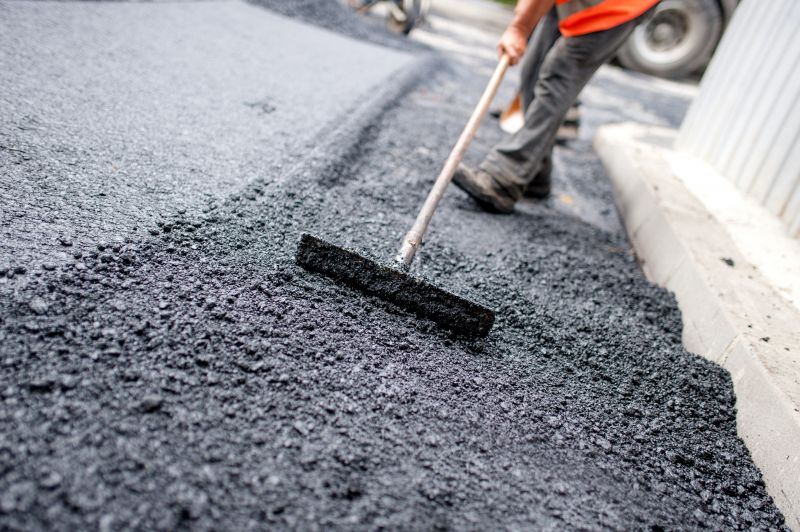
Step 3: Apply the Crack Filler
Using a crack filling applicator, such as a caulking gun or pour pot, carefully fill the cracks with the prepared filler. Start from one end of the crack and slowly move along its length, ensuring the crack is completely filled. Avoid overfilling the cracks.
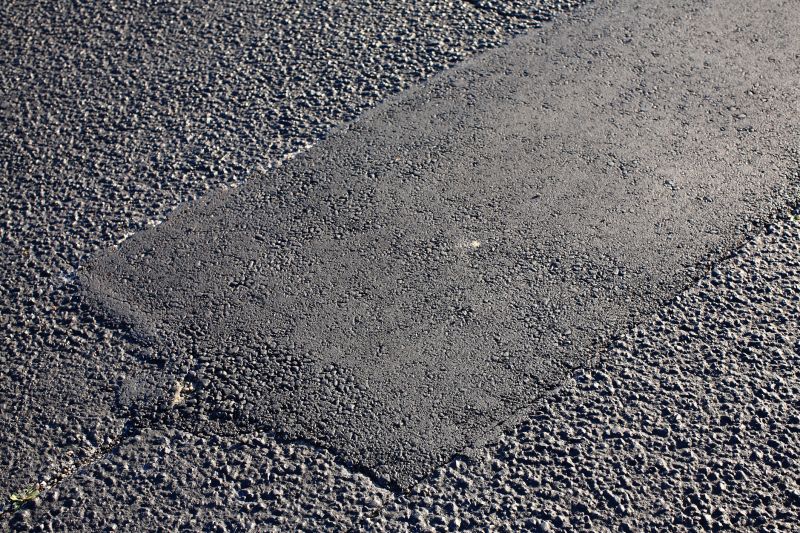
Step 4: Smooth and Level the Filler
Once the cracks are filled, use a trowel or putty knife to smooth and level the filler, ensuring it blends seamlessly with the surrounding asphalt surface. This step will help improve the appearance and durability of the repair.
Step 5: Allow the Filler to Cure
Follow the manufacturer's instructions to determine the curing time for the crack filler. Typically, it may take a few hours or even overnight for the filler to fully cure. Avoid driving or placing heavy objects on the filled cracks until the filler has completely hardened.
Step 6: Regular Maintenance
To prolong the life of your asphalt driveway and prevent future cracks, it is essential to perform regular maintenance. This includes keeping the surface clean, removing debris promptly, and applying sealant periodically.
Conclusion
By following these steps, you can effectively fill cracks in your asphalt driveway, preventing further damage and maintaining its overall integrity. Remember to prioritize safety and always consult the manufacturer's instructions for specific products.