Asphalt Driveway Sealing | How To
How to Seal an Asphalt Driveway
Introduction
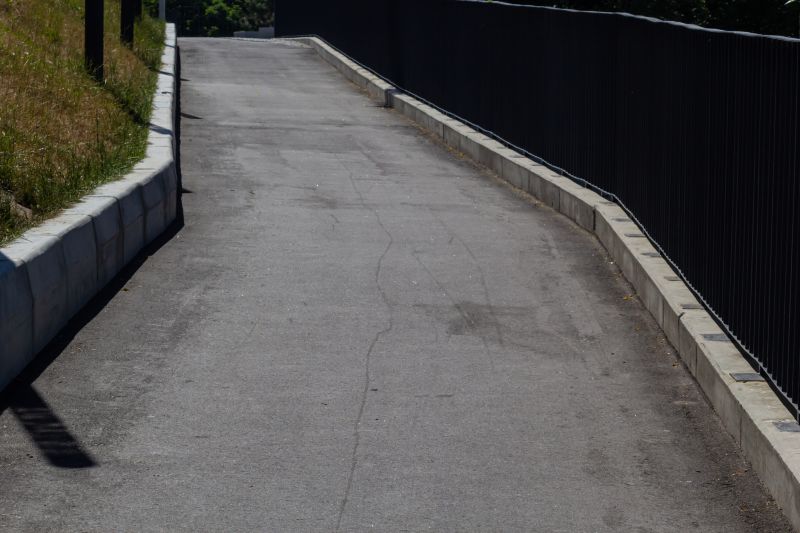
Sealing your asphalt driveway is an important maintenance task that helps protect it from harsh weather conditions, UV rays, and everyday wear and tear. Follow these step-by-step instructions to ensure a successful asphalt driveway sealing project.
Materials You'll Need
- Asphalt sealer
- Crack filler
- Broom
- Pressure washer
- Driveway cleaner
- Brush or roller
- Protective clothing and gloves
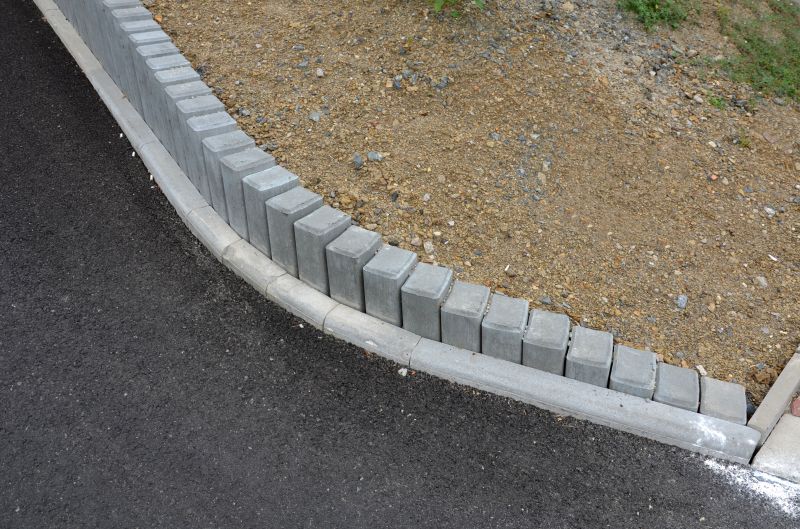
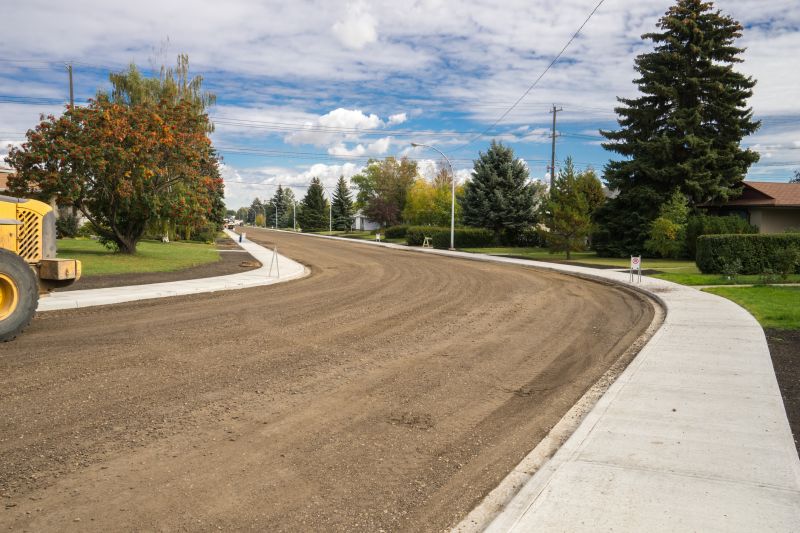
Step 1: Prepare the Driveway
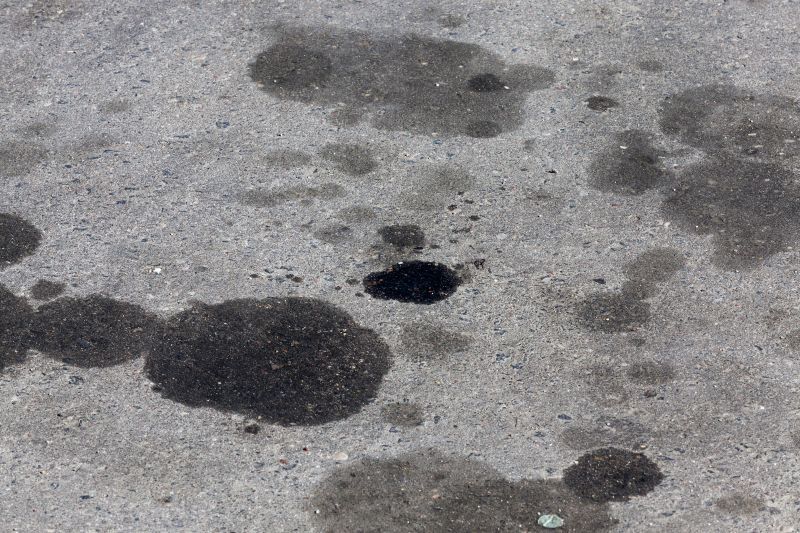
Before sealing your asphalt driveway, it's crucial to clean and repair any cracks or damage. Start by sweeping the entire surface to remove loose debris. Next, use a pressure washer to thoroughly clean the driveway, removing any dirt, oil stains, or vegetation.
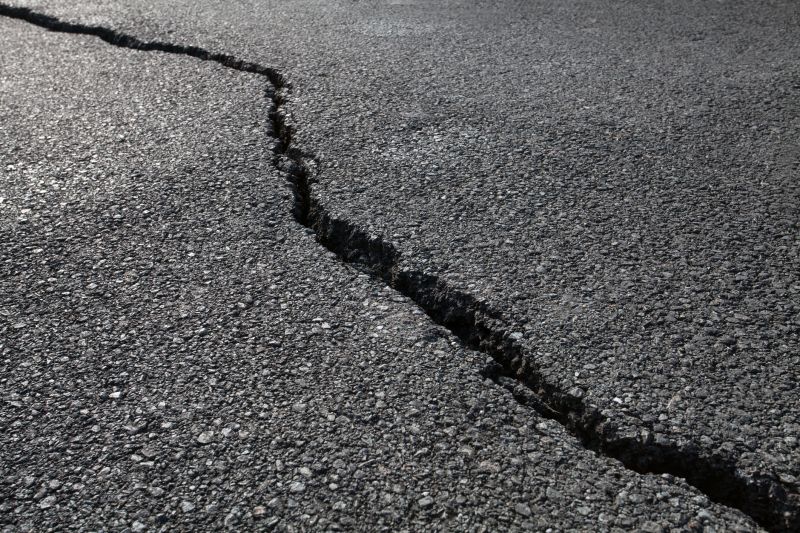
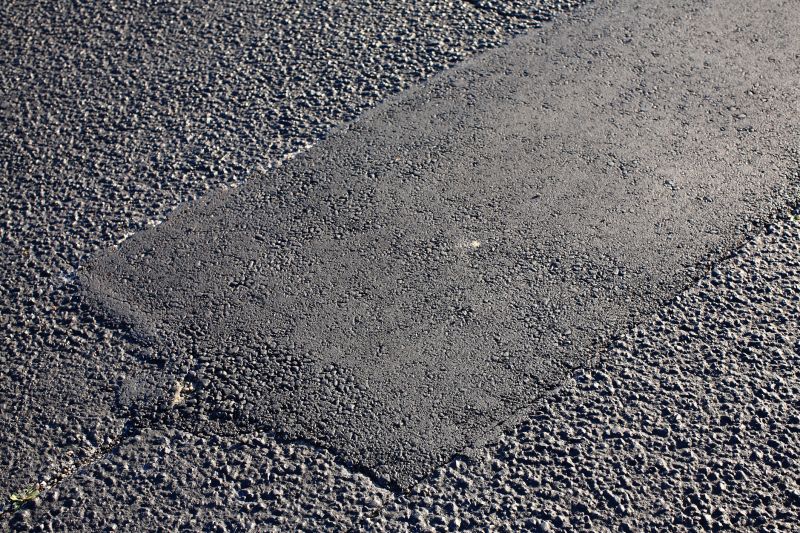
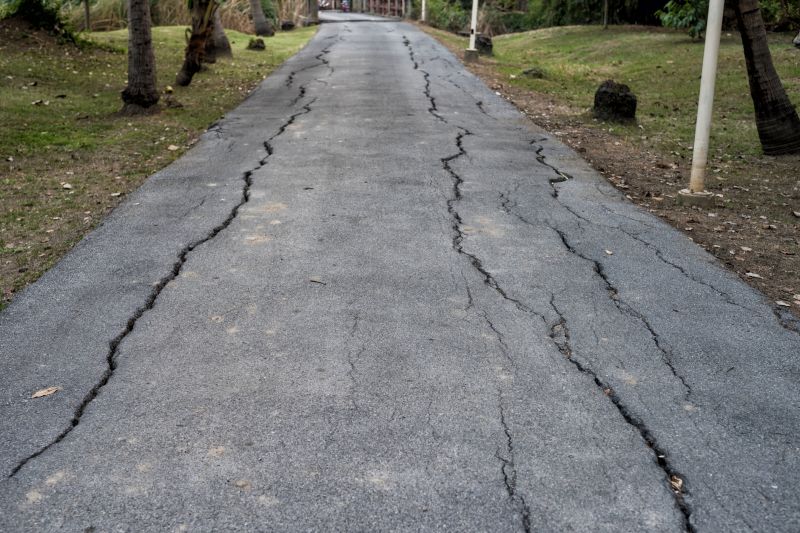
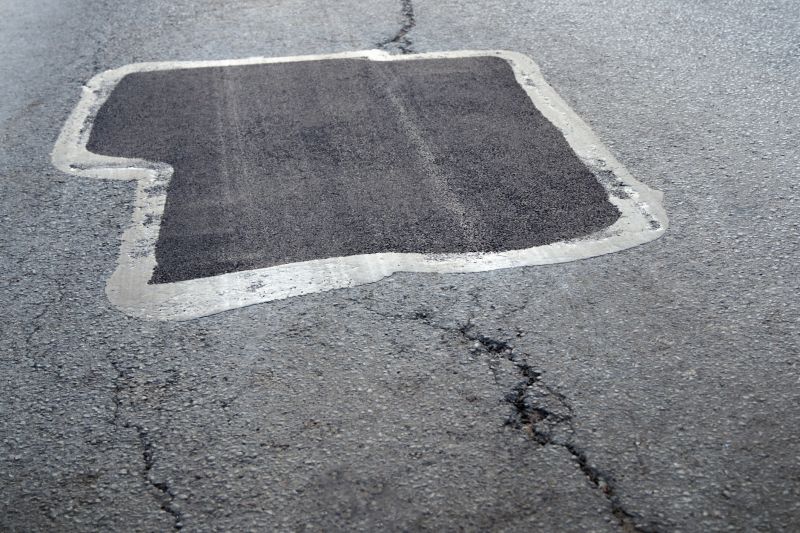
Step 2: Fill Cracks and Repair Damage
Inspect the driveway for any cracks or potholes. Use a crack filler to repair small cracks, following the manufacturer's instructions. For larger cracks or potholes, consider hiring a professional to ensure proper repair. Allow the filler to dry completely before proceeding.
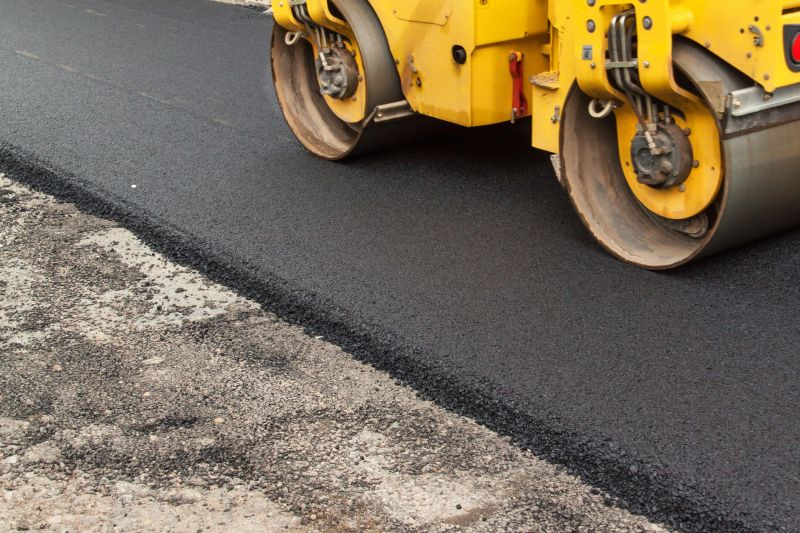
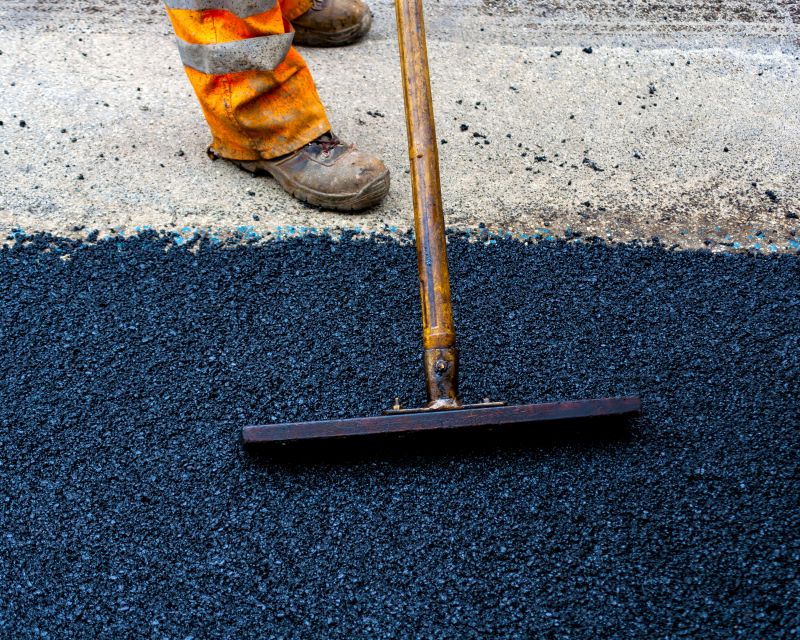
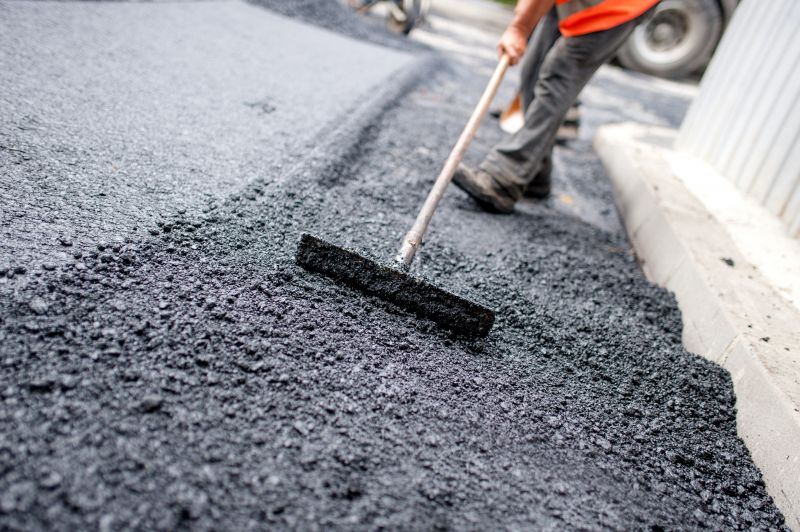
Step 3: Apply the Asphalt Sealer
Before applying the sealer, stir it well to ensure a consistent mixture. Start by applying a thin coat of sealer along the edges of the driveway using a brush or roller. Then, pour the sealer onto the driveway in a zigzag pattern. Use a brush or roller to spread the sealer evenly across the surface, working from one end to the other. Apply a second coat if necessary, following the manufacturer's instructions.
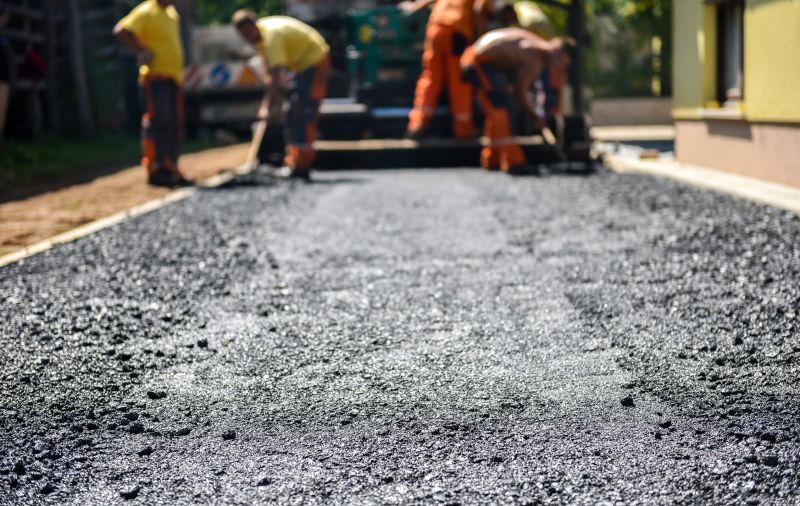
Step 4: Allow the Sealer to Dry
After applying the sealer, allow it to dry completely before allowing any traffic on the driveway. This typically takes 24 to 48 hours, depending on the weather conditions. Avoid parking or walking on the driveway during this time to ensure a smooth and durable finish.
Step 5: Maintain the Sealed Driveway
To prolong the life of your sealed driveway, perform regular maintenance. Sweep away debris regularly, and avoid using harsh chemicals or snowplows that can damage the sealer. Consider resealing your driveway every 2-3 years or as recommended by the manufacturer to keep it protected and looking its best.
Conclusion
By following these steps, you can successfully seal your asphalt driveway and protect it from the elements. Remember to always read and follow the instructions provided by the manufacturer of the sealer and other products you use. With proper maintenance, your driveway will remain in excellent condition for years to come.