Step 1: Prepare the Driveway
Before patching the asphalt driveway, make sure to clean the area thoroughly. Remove any loose debris, dirt, or vegetation using a broom or a stiff brush. It is important to have a clean surface for the patching material to adhere properly.
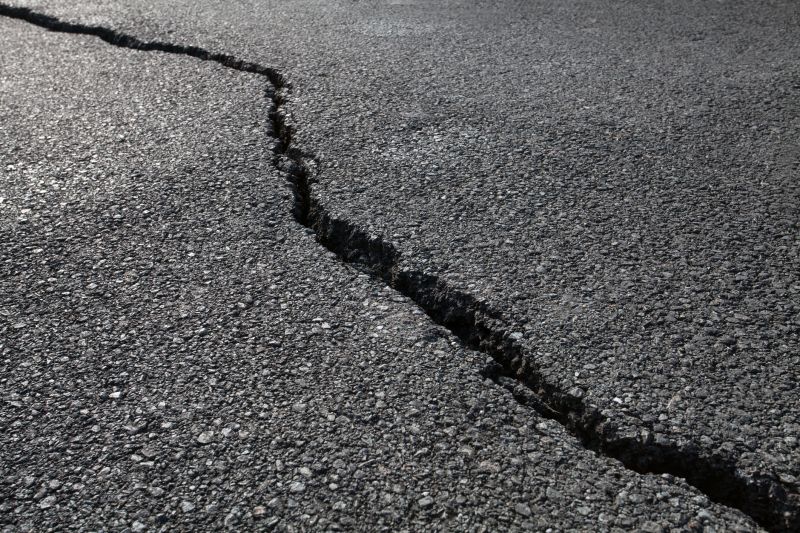
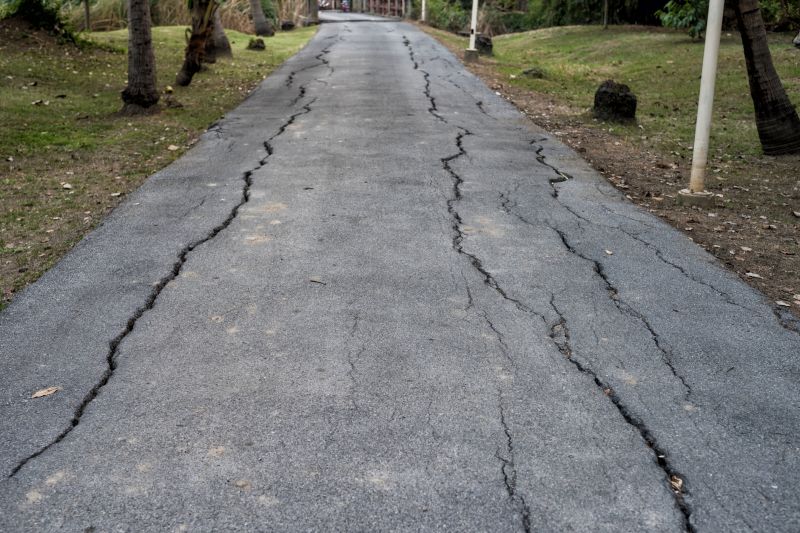
Step 2: Repair Cracks
Inspect the driveway for any cracks. Use a crack filler or asphalt patching compound to fill in the cracks. Follow the manufacturer's instructions for the specific product you are using. Smooth the filler with a trowel or putty knife and let it dry according to the recommended time.
Step 3: Prepare the Patching Material
Read the instructions on the asphalt patching material you have chosen. Some may require mixing with water or a bonding agent. Follow the instructions carefully to ensure proper consistency and adhesion.
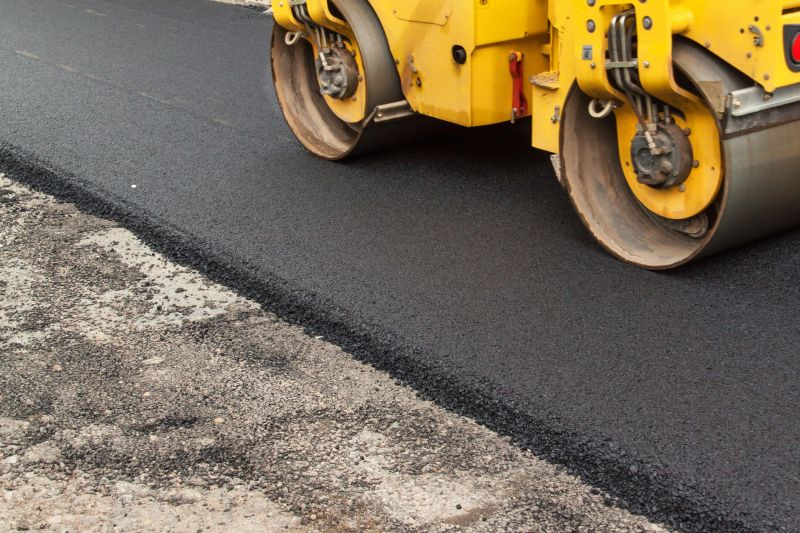
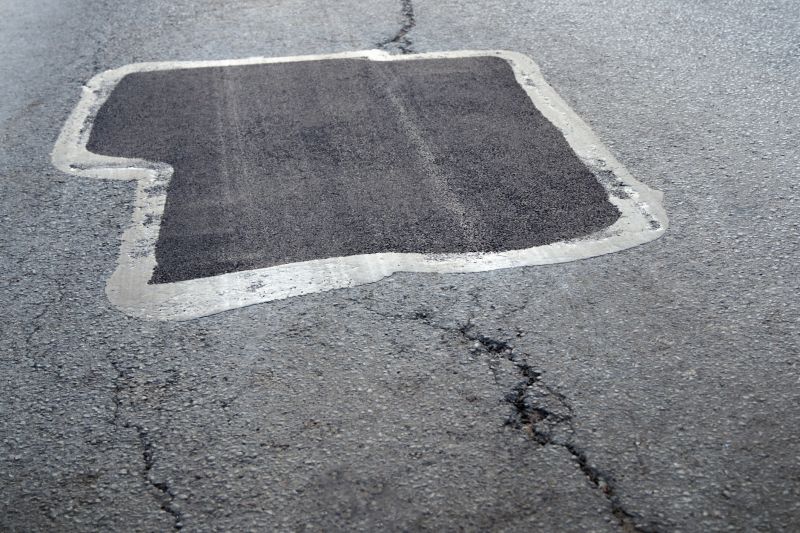
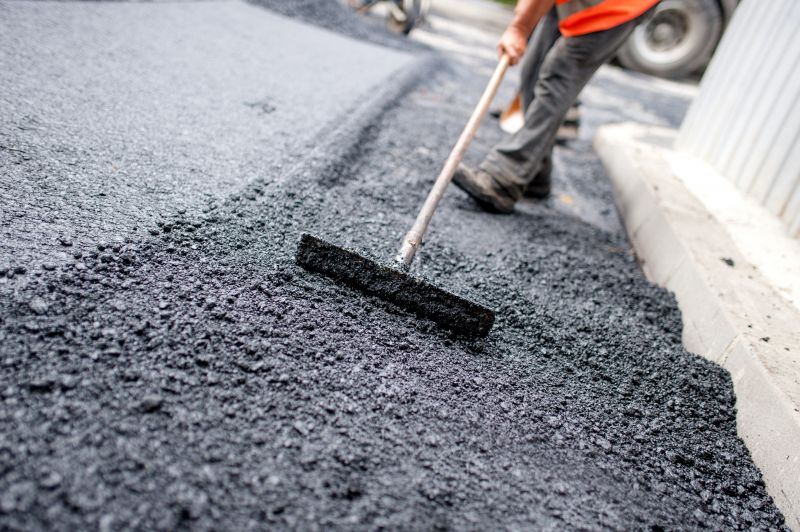
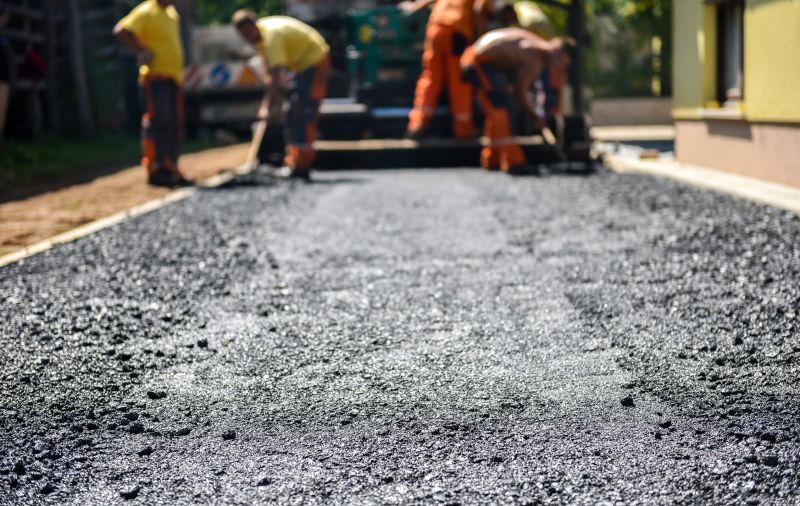
Step 4: Apply the Patching Material
Using a trowel or a shovel, apply the patching material to the damaged area of the driveway. Make sure to spread it evenly and slightly overfill the area to allow for compaction. Use a tamper or a piece of plywood to compact the patching material, ensuring it is level with the surrounding surface.
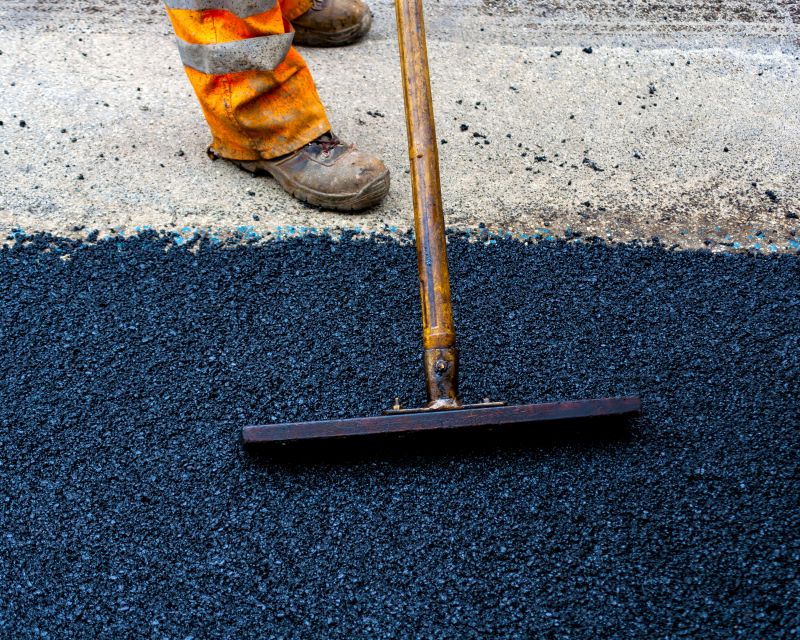
Step 5: Smooth and Finish
After compacting the patching material, use a trowel or a float to smooth the surface. Feather the edges to blend the patch with the existing driveway. Allow the patch to cure and dry according to the manufacturer's instructions before using the driveway.
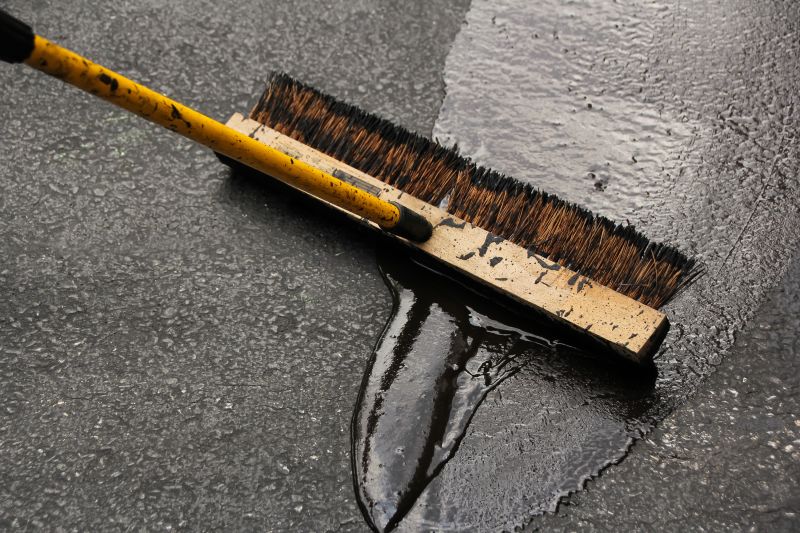
Step 6: Clean Up
Dispose of any leftover patching material properly. Clean your tools with water or a recommended solvent, as per the product instructions. Leave the area undisturbed for the recommended curing time before using the driveway.
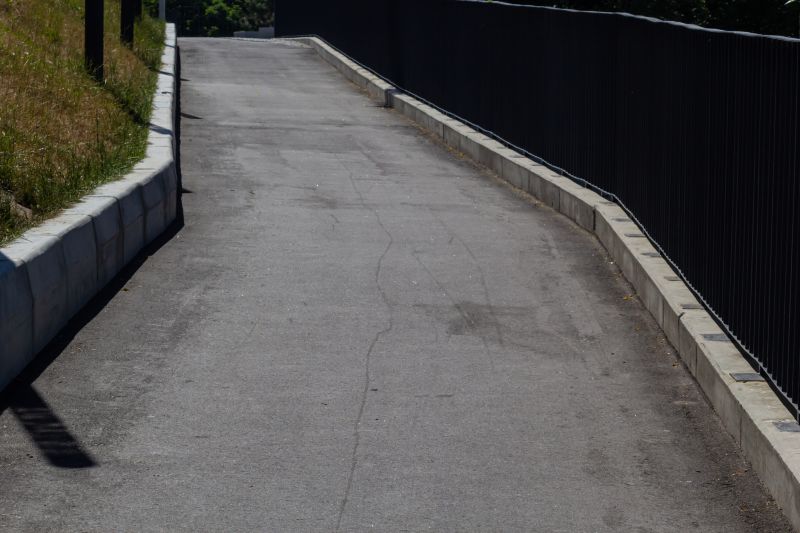
Step 7: Regular Maintenance
To prolong the lifespan of your asphalt driveway, it is important to perform regular maintenance. This includes sealing the driveway every few years and promptly repairing any new cracks or damages that may occur.