Introduction
Installing an asphalt driveway ramp can help improve the accessibility of your driveway, making it easier to drive in and out. This step-by-step guide will walk you through the process of installing an asphalt driveway ramp.
Materials You'll Need
- Asphalt mix
- Shovel
- Rake
- Tamper
- Hand trowel
- Measuring tape
- Level
- Water source
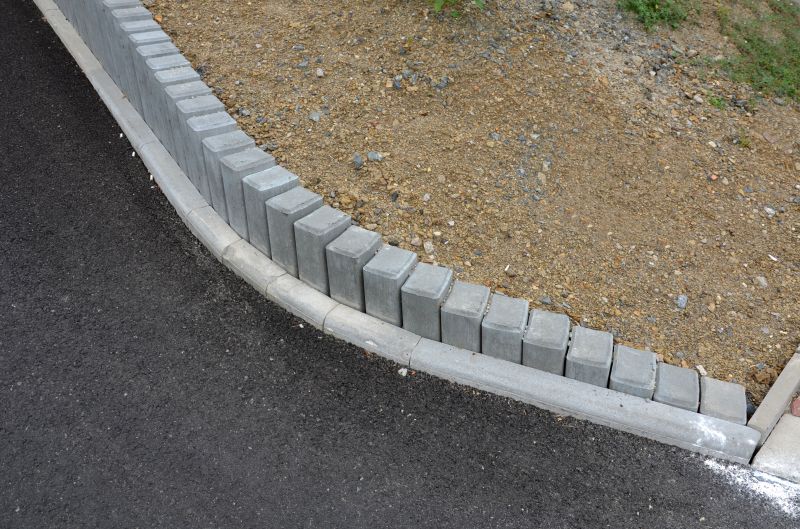
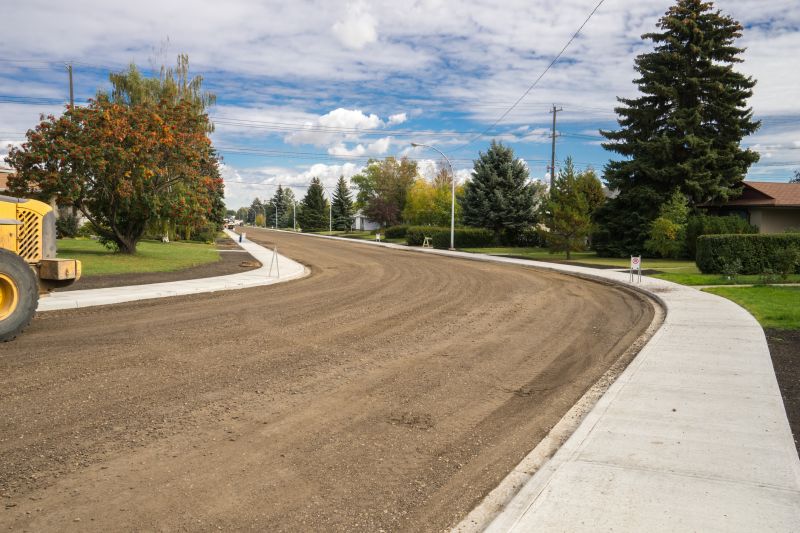
Step 1: Prepare the Area
Start by clearing the area where you want to install the ramp. Remove any debris, rocks, or vegetation. Use a shovel to dig out the area, making sure to create a slope that matches the existing driveway.
Step 2: Compact the Base
Use a tamper to compact the soil in the excavated area. This will provide a stable base for the asphalt mix.
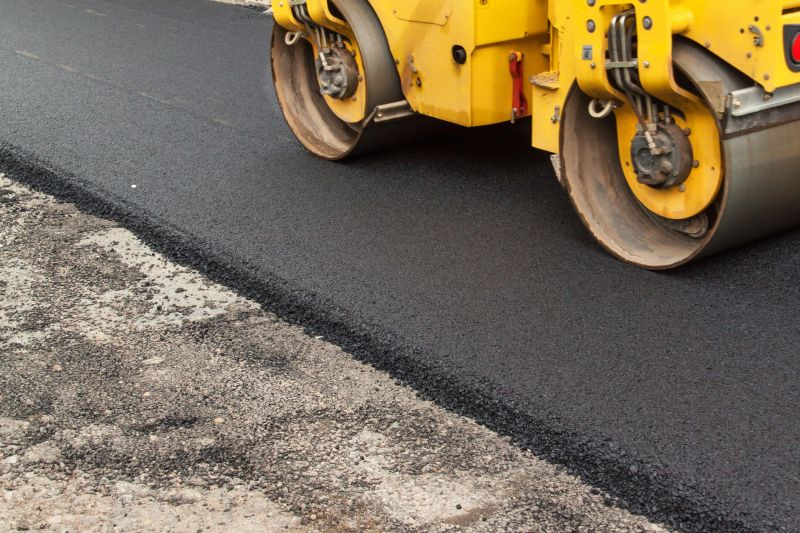
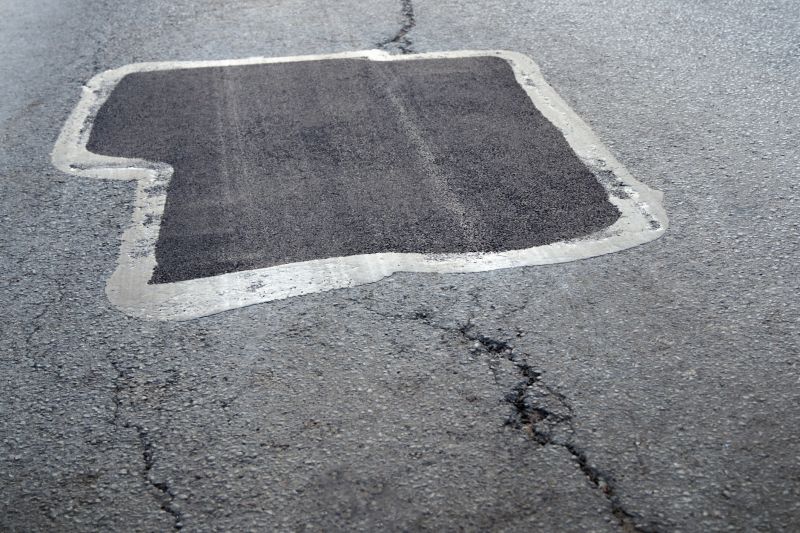
Step 3: Add the Asphalt Mix
Pour the asphalt mix onto the compacted base, starting from the lowest point of the ramp. Use a shovel and rake to spread the mix evenly, ensuring a smooth surface. Make sure the thickness of the asphalt is consistent throughout the ramp.
Step 4: Compact the Asphalt
Use a tamper to compact the asphalt, ensuring it is firmly packed. This will help prevent cracks and ensure a durable ramp.
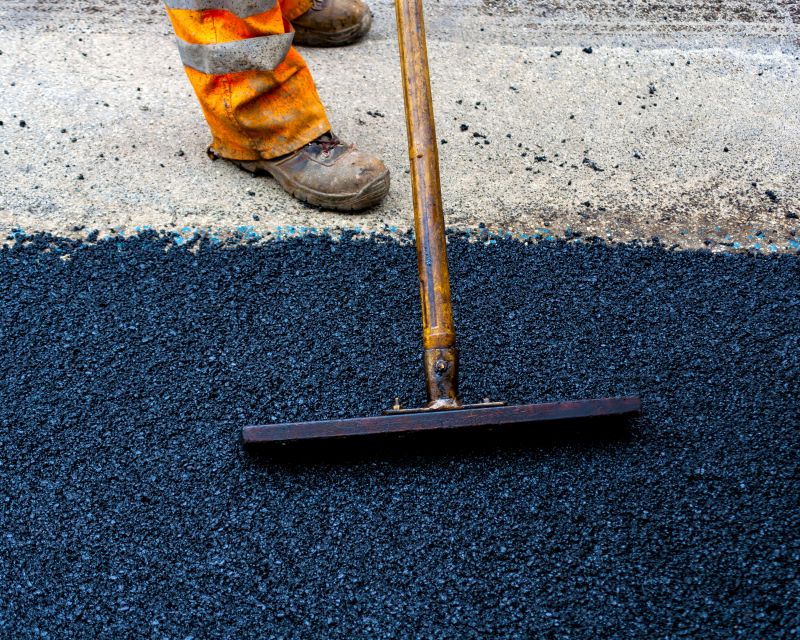
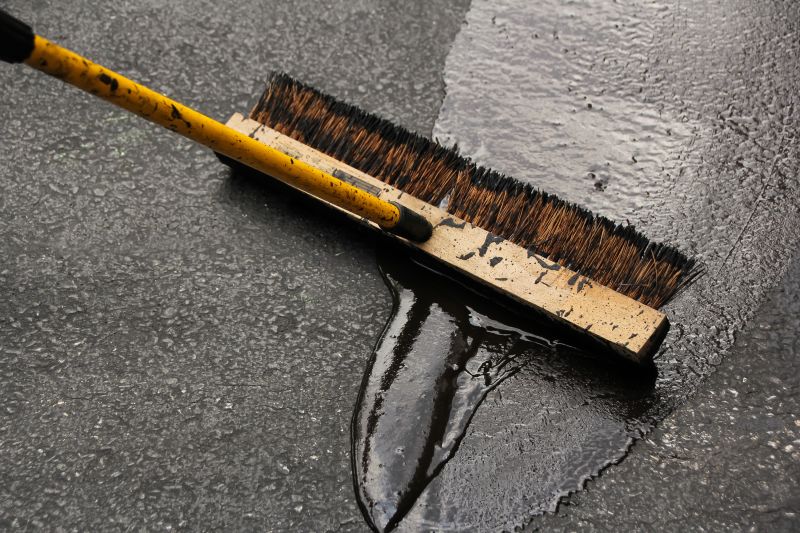
Step 5: Shape and Finish
Use a hand trowel to shape and smooth the edges of the ramp. Make sure the surface is level and free of any bumps or irregularities. If needed, use a measuring tape and level to ensure accuracy.
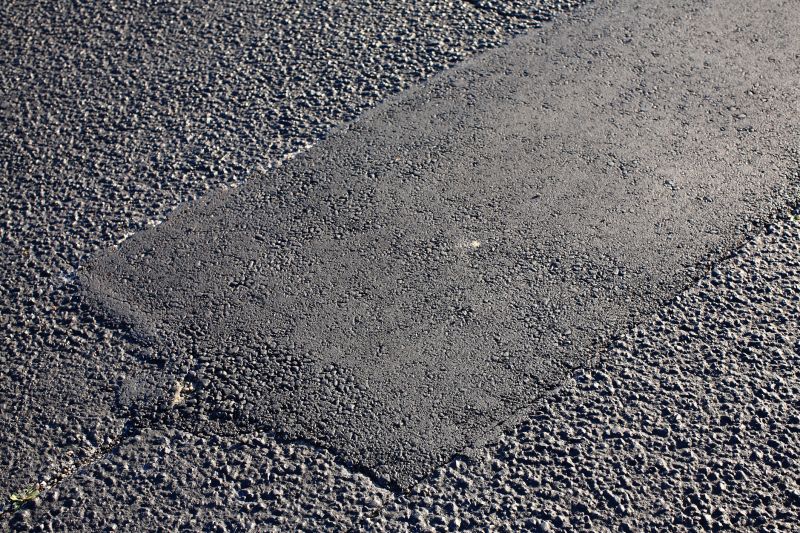
Step 6: Allow Time to Cure
Let the asphalt driveway ramp cure for at least 24 hours before using it. This will allow the asphalt to harden and provide a sturdy surface for vehicles.
Conclusion
By following these steps, you can successfully install an asphalt driveway ramp. Remember to take your time and pay attention to detail for the best results. Enjoy your improved driveway accessibility!