Asphalt Driveway Edging | How To
How to Do Asphalt Driveway Edging
Step 1: Prepare the Area
Start by clearing the area around the driveway. Remove any grass, dirt, or debris that may interfere with the edging process. Use a shovel or a garden hoe to create a clean and defined edge along the driveway.
Step 2: Measure and Mark
Measure the length of the driveway and determine the spacing for the edging. Mark the locations where the edging will be installed using stakes or spray paint.
Step 3: Dig Trenches
Using a shovel or a trenching tool, dig trenches along the marked locations. The trenches should be deep enough to accommodate the edging material and provide stability.
Step 4: Install Edging
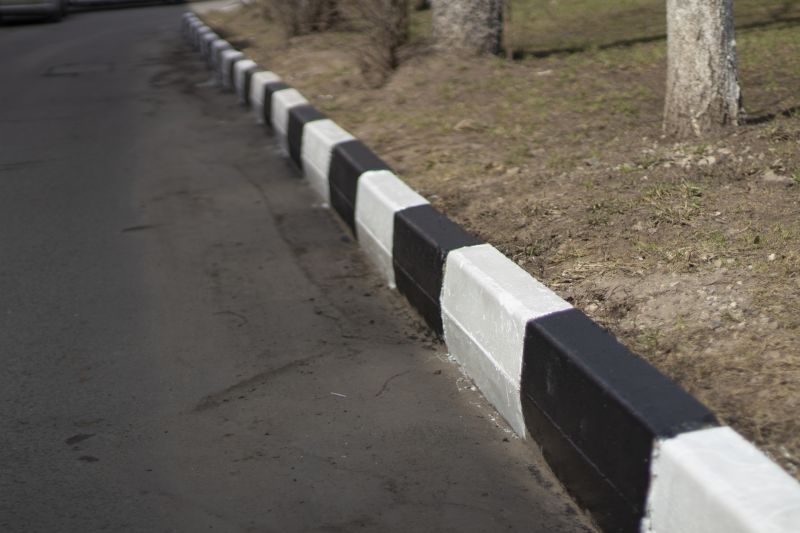
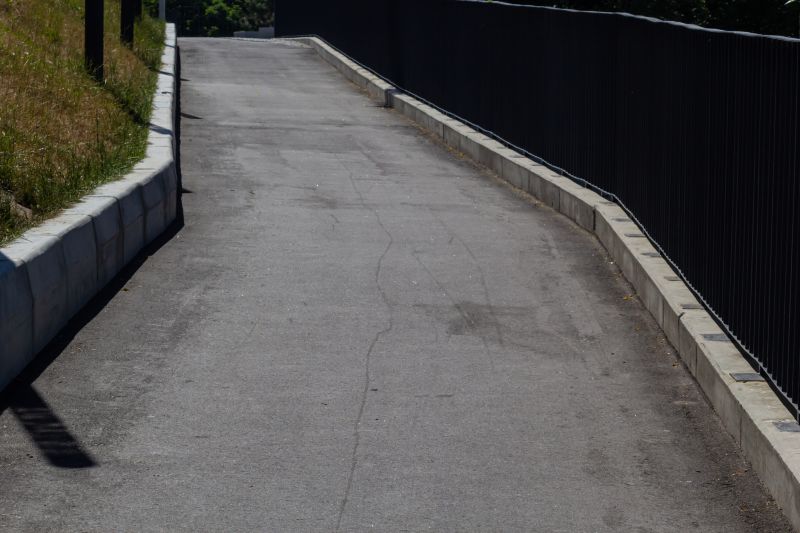
Place the edging material into the trenches, ensuring that it is level and securely positioned. Use a rubber mallet or a hammer to gently tap the edging into place. Connect the edging pieces together as needed, following the manufacturer's instructions.
Step 5: Backfill and Compact
Fill the trenches with soil or gravel, making sure to compact it firmly around the edging. This will provide additional stability and prevent shifting over time. Use a tamper or a hand compactor to achieve a solid base.
Step 6: Finish and Maintain
Once the edging is installed and backfilled, clean the driveway thoroughly to remove any excess debris. Regularly inspect the edging for any signs of damage or movement, and make necessary repairs as needed to maintain the integrity of the driveway edging.
By following these simple steps, you can enhance the appearance and functionality of your asphalt driveway with professional-looking edging.

