Asphalt Driveway Grading | How To
How to Do Asphalt Driveway Grading
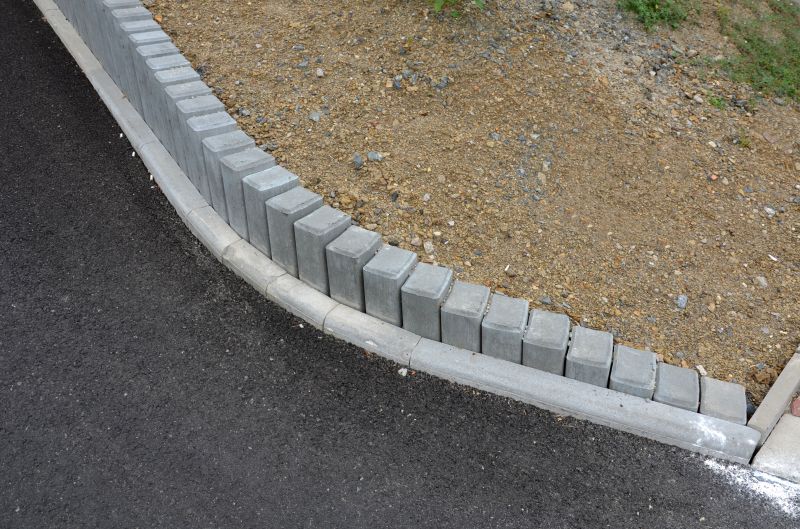
Step 1: Clear the Driveway
Before starting the grading process, make sure the driveway is clear of any debris, such as rocks, branches, or loose soil. Use a rake or a broom to remove any loose materials.
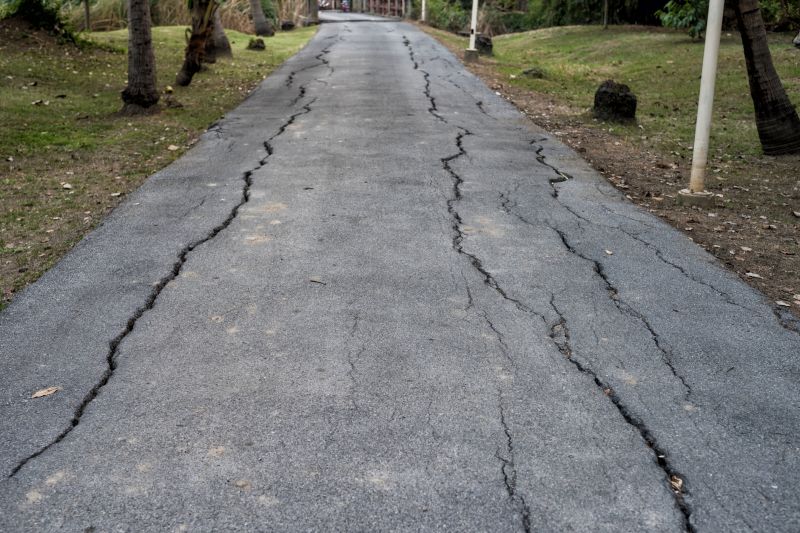
Step 2: Assess the Driveway
Walk along the driveway and inspect its current condition. Look for any areas that are uneven, have potholes, or are prone to water pooling. Take note of these areas as they will require special attention during the grading process.
Step 3: Gather the Necessary Tools
To properly grade an asphalt driveway, you will need the following tools:
- Shovel
- Rake
- Wheelbarrow
- Compactor or tamper
- Leveling tool
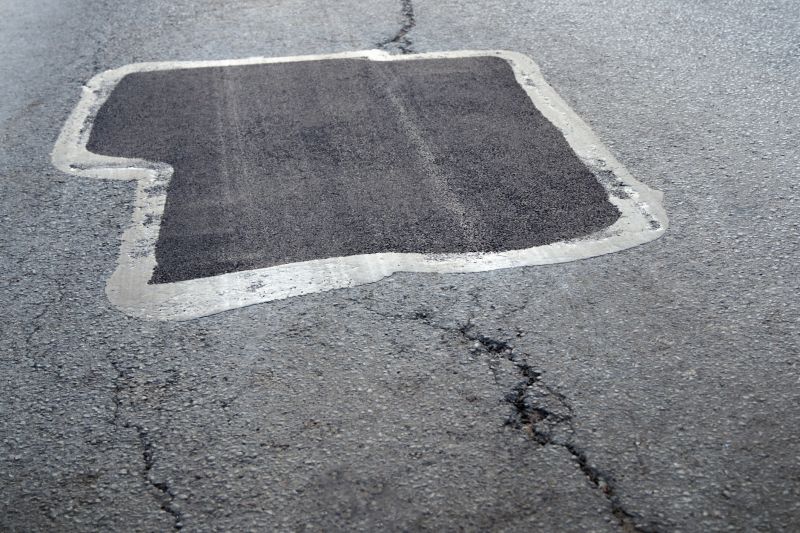
Step 4: Start Grading
Begin by filling any potholes or low spots with asphalt patching material. Use a shovel to spread the material evenly and compact it using a compactor or tamper. Once the patching material is level with the rest of the driveway, proceed to the next step.
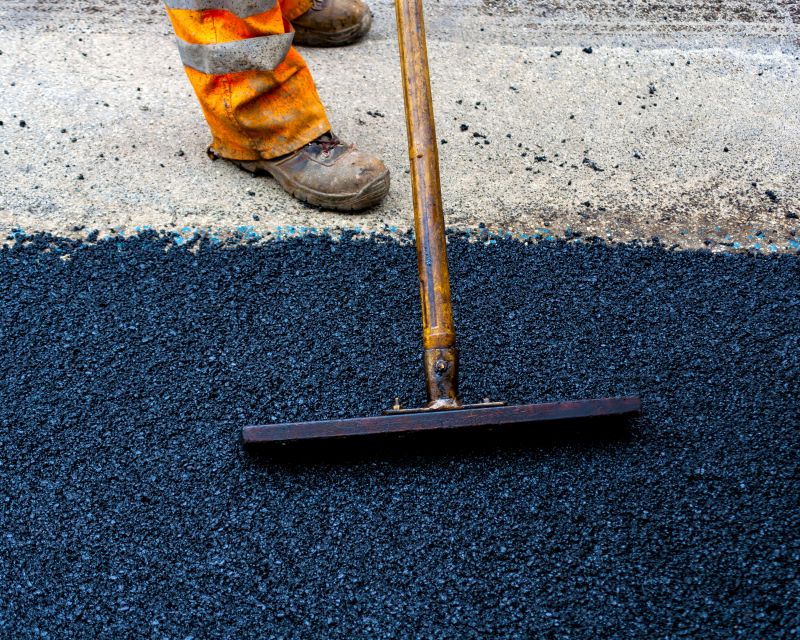
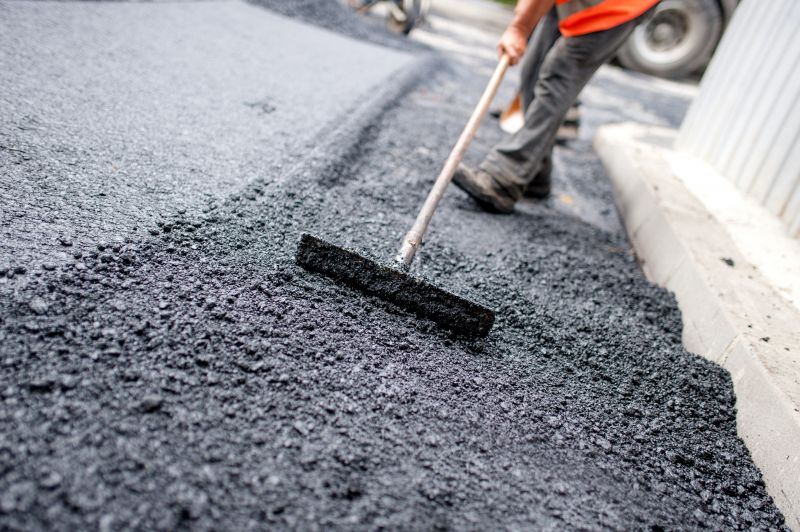
Step 5: Level the Surface
Using a leveling tool, such as a rake or a screed board, spread a layer of asphalt over the entire driveway. Make sure the asphalt is distributed evenly and leveled to the desired grade. Pay extra attention to the areas identified in Step 2.
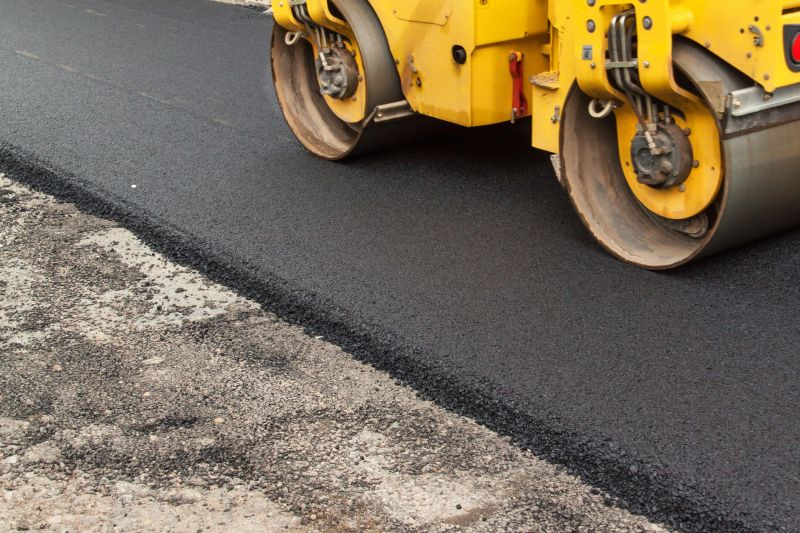
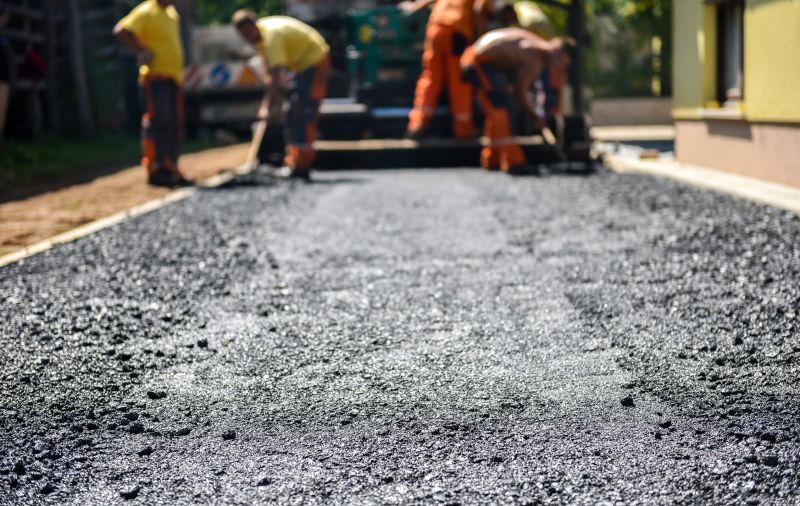
Step 6: Compact the Asphalt
After the asphalt has been leveled, use a compactor or tamper to compact the surface. This will ensure a smooth and stable driveway. Start from one end of the driveway and work your way to the other, overlapping each pass slightly.
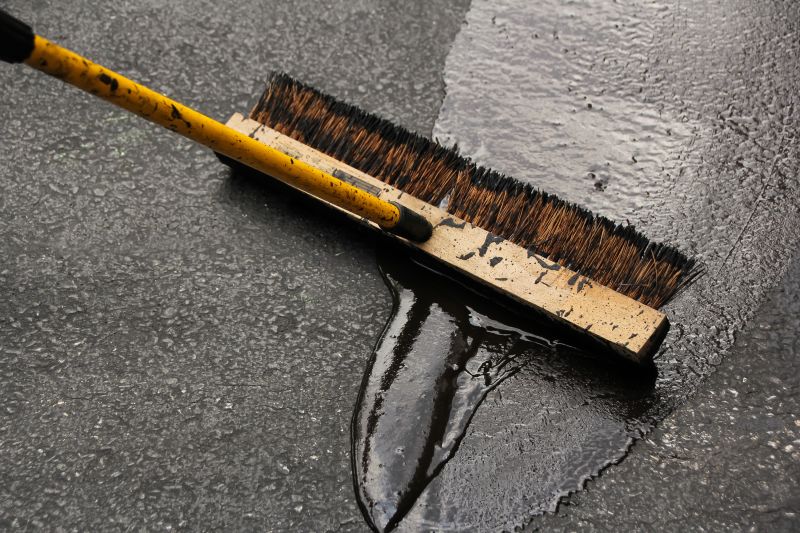
Step 7: Finishing Touches
Inspect the graded driveway for any remaining uneven areas or low spots. If necessary, add more asphalt and repeat the leveling and compacting process. Once you are satisfied with the result, allow the asphalt to cure according to the manufacturer's instructions.
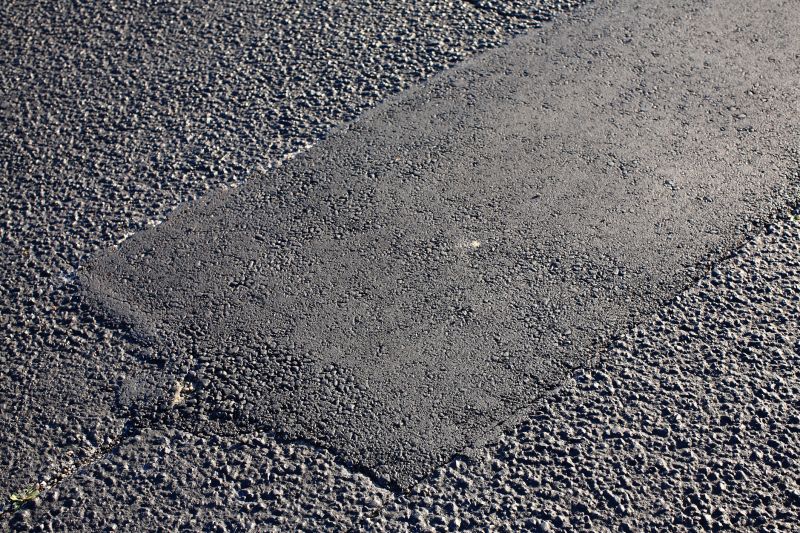
Step 8: Maintenance
To keep your asphalt driveway in good condition, regular maintenance is essential. This includes filling any cracks, sealing the surface, and performing periodic regrading if needed.
By following these steps, you can successfully grade your asphalt driveway and ensure a smooth and durable surface for years to come.