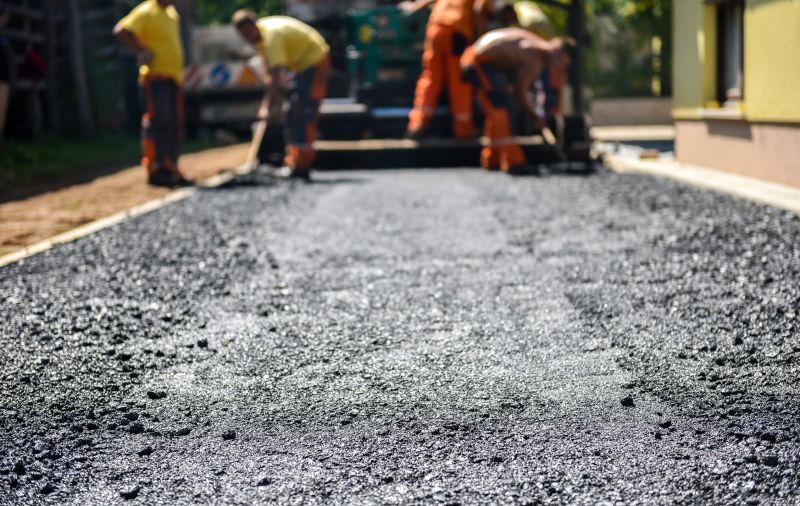
How to Install an Asphalt Driveway Border
Adding a border to your asphalt driveway not only enhances its appearance but also provides a clear separation between your driveway and the surrounding landscape. Follow these steps to install an asphalt driveway border.
Materials You'll Need:
- Asphalt pavers
- Crushed stone or gravel
- Asphalt adhesive
- Shovel
- Tape measure
- String or chalk
- Hand tamper or plate compactor
- Level
- Safety goggles and gloves
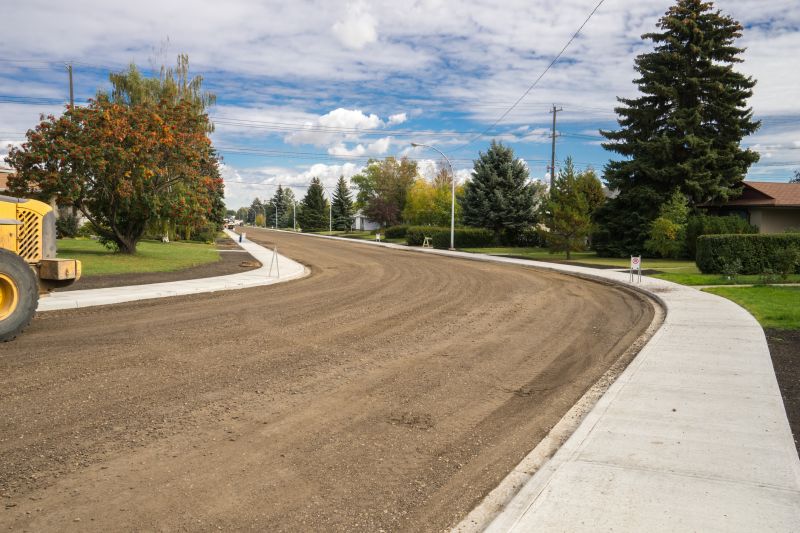
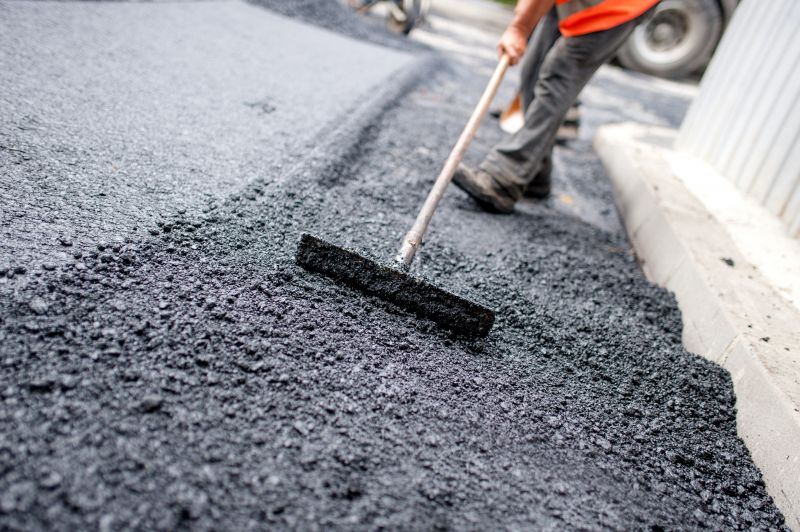
Step 1: Prepare the Area
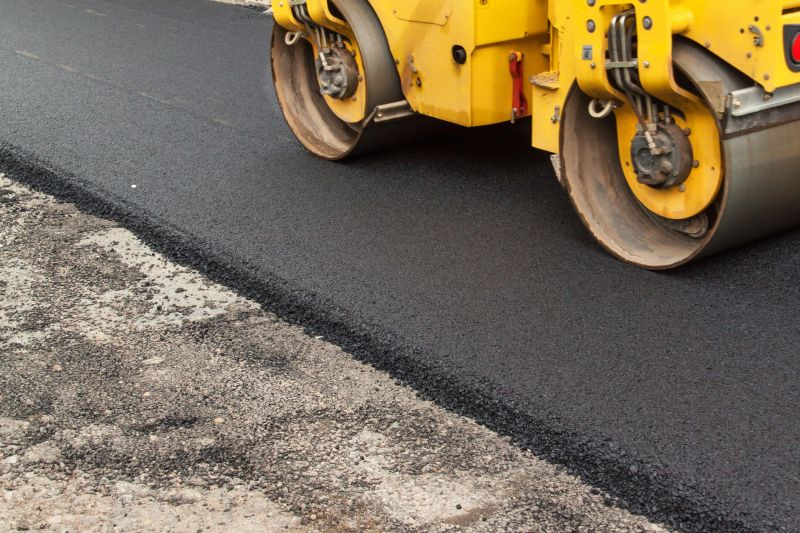
Start by cleaning the edges of your driveway to remove any debris or vegetation. Use a shovel to create a straight, even trench along the edges where you want the border to be.
Step 2: Measure and Mark
Measure the length and width of your driveway to determine the amount of pavers you'll need. Mark the borders using string or chalk to ensure straight lines.
Step 3: Lay the Base
Fill the trench with crushed stone or gravel to create a stable base for the pavers. Use a hand tamper or plate compactor to compact the base and ensure it is level.
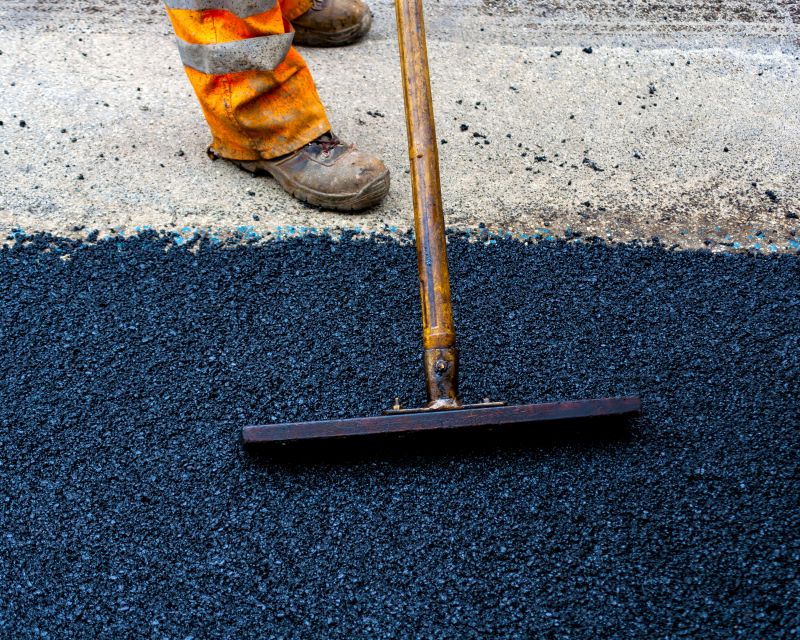
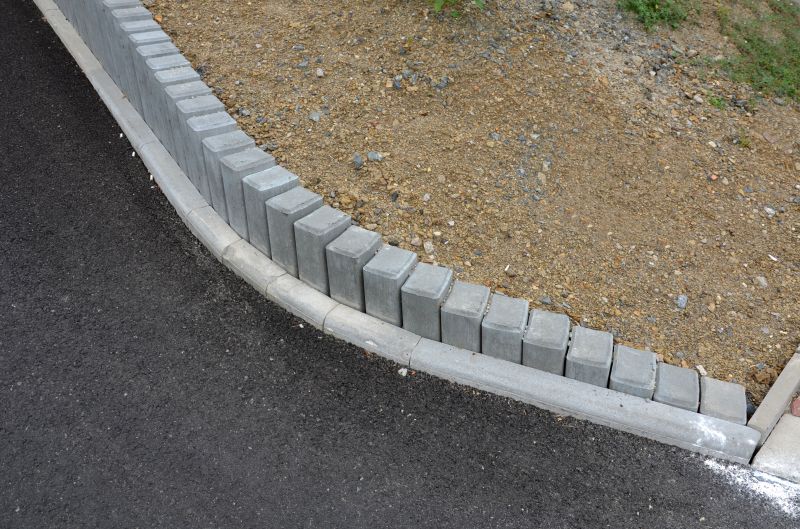
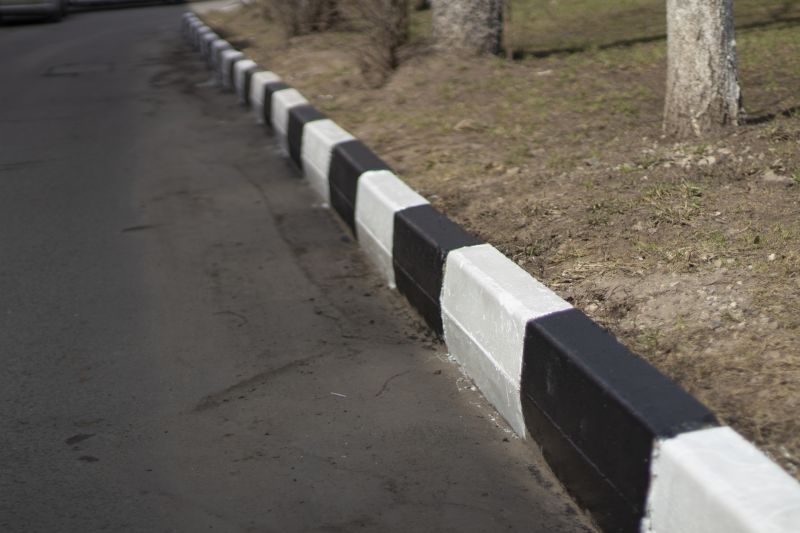
Step 4: Lay the Pavers
Apply a layer of asphalt adhesive along the bottom of the trench. Start laying the pavers along the marked border, pressing them firmly into the adhesive. Make sure the pavers are level and aligned with each other.
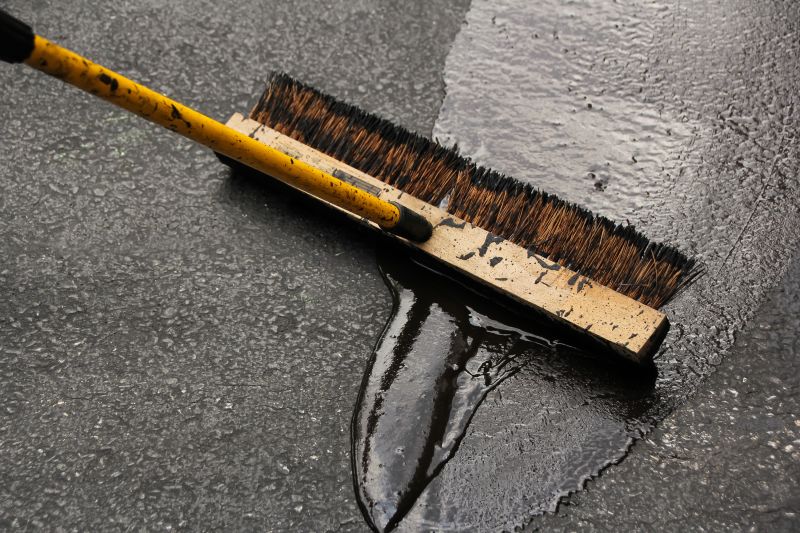
Step 5: Finishing Touches
Once all the pavers are in place, use a level to ensure they are even. Fill any gaps between the pavers with additional adhesive and compact the entire border with a tamper or compactor.
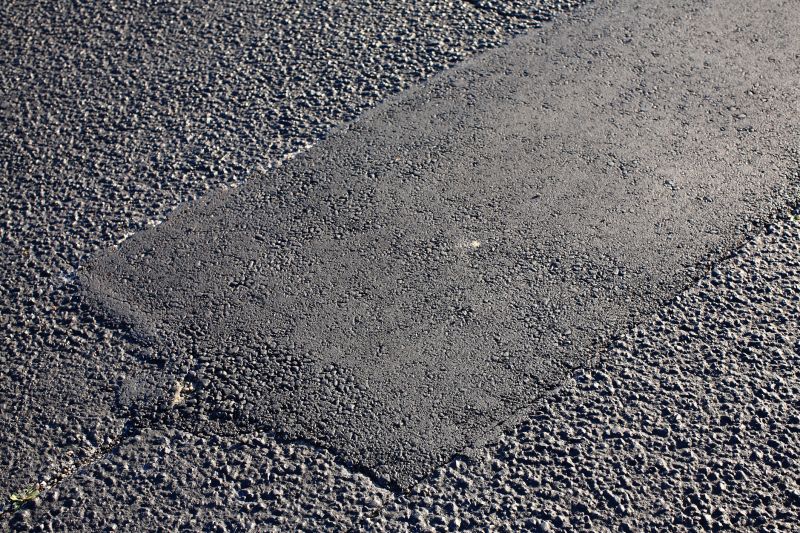
Step 6: Allow for Curing
Allow the adhesive to cure according to the manufacturer's instructions before using your driveway. This typically takes 24 to 48 hours.
Step 7: Maintenance
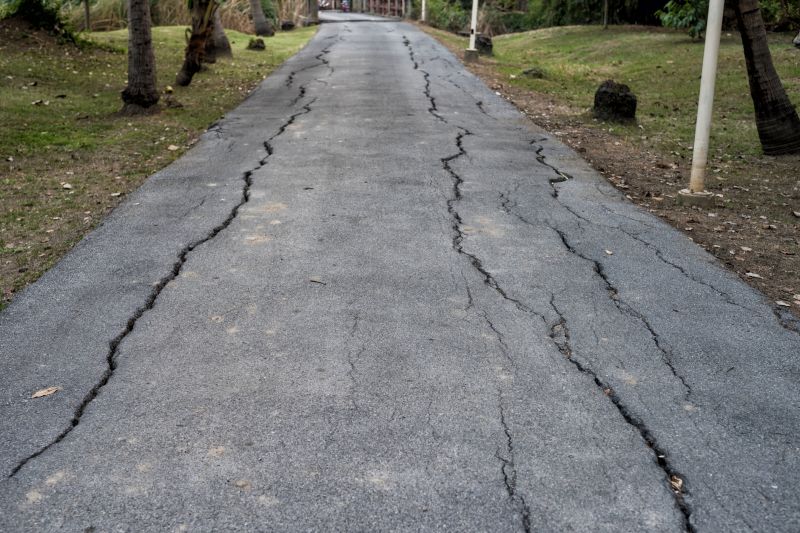
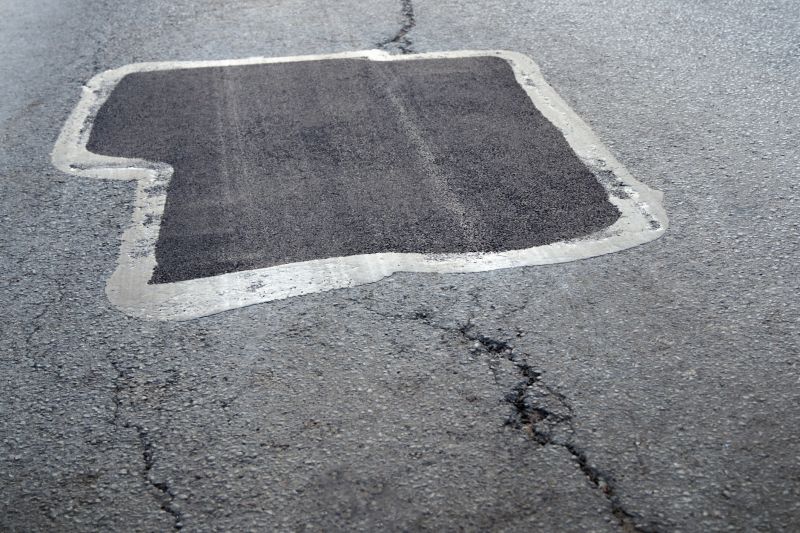
To keep your asphalt driveway border looking its best, regularly remove any debris and clean it with a mild detergent and water. Periodically inspect for any cracks or damage and repair as needed.
By following these steps, you can easily install an asphalt driveway border that adds both functionality and aesthetic appeal to your property.