Asphalt Driveway Speed Bump Installation | How To
How to Install an Asphalt Driveway Speed Bump
Introduction
Installing a speed bump on your asphalt driveway can help control vehicle speed and increase safety. Follow these steps to install an asphalt driveway speed bump.
Materials You'll Need
- Asphalt speed bump
- Measuring tape
- Chalk or marking paint
- Shovel
- Tamper or plate compactor
- Asphalt mix
- Asphalt roller
- Safety equipment (gloves, safety glasses, etc.)
Step 1: Measure and Mark
Using a measuring tape, determine the desired location and length of the speed bump. Mark the edges of the speed bump with chalk or marking paint.
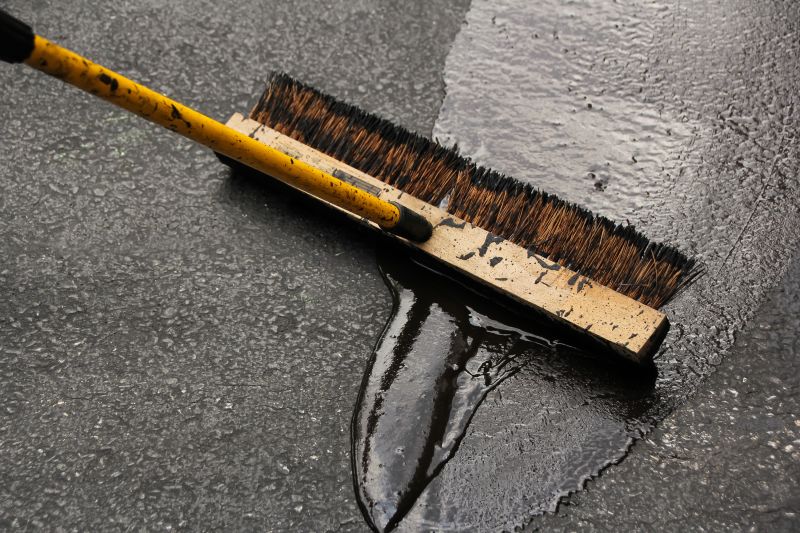
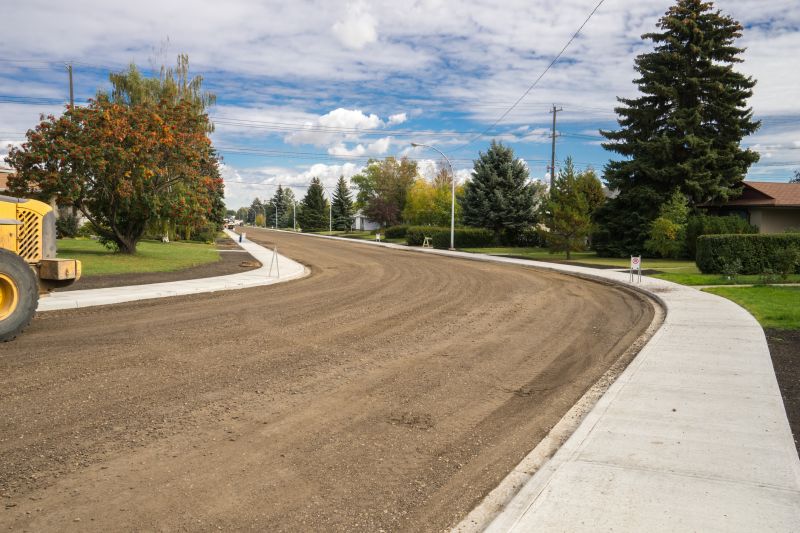
Step 2: Prepare the Area
Clear any debris or loose asphalt from the marked area. Use a shovel to remove any excess dirt or gravel.
Step 3: Compact the Base
Use a tamper or plate compactor to compact the base of the speed bump area. This will ensure a stable foundation for the asphalt mix.
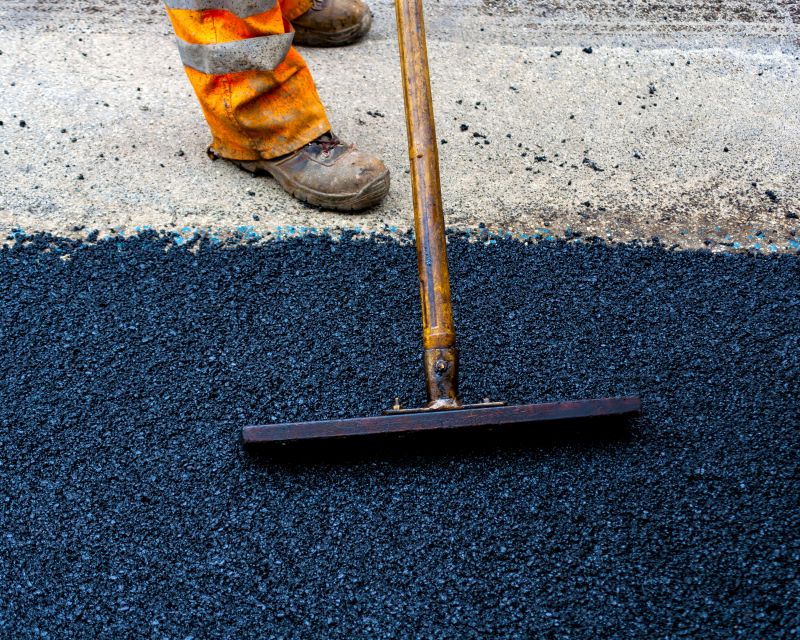
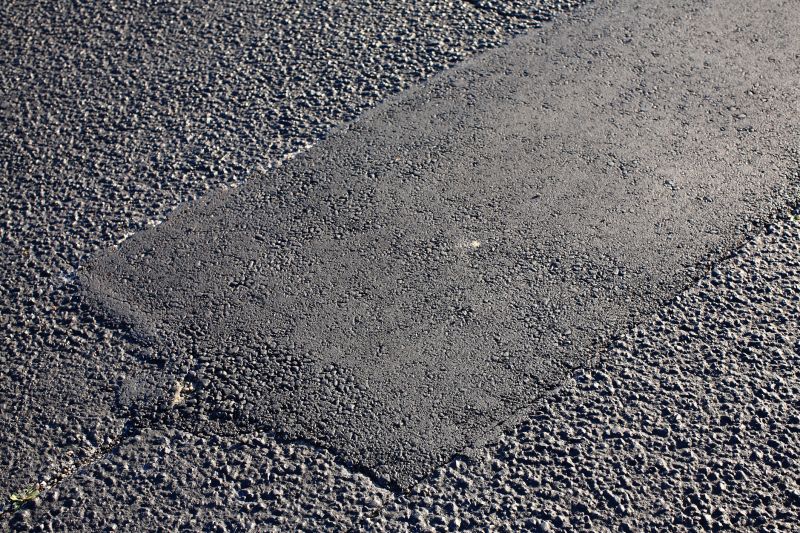
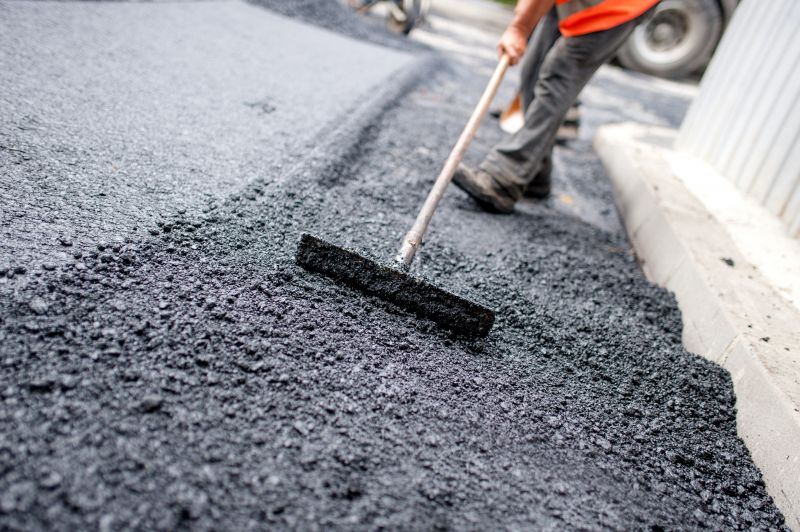
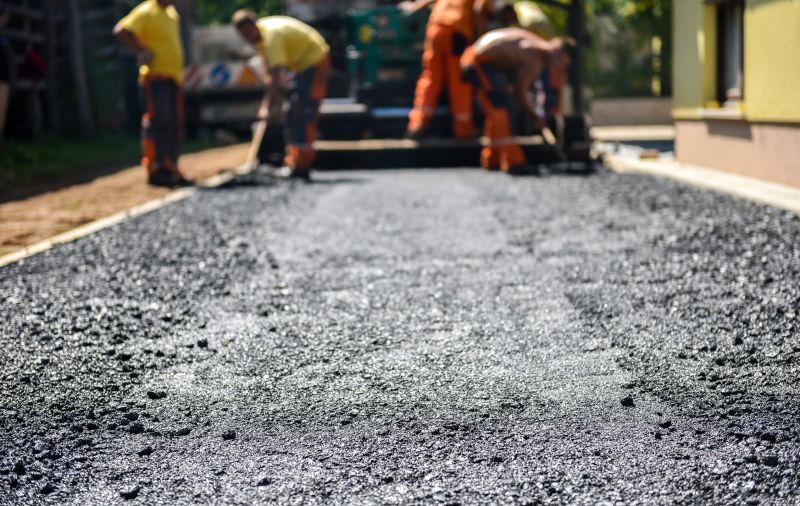
Step 4: Apply Asphalt Mix
Pour asphalt mix into the marked area, making sure to fill it evenly. Use a shovel to spread and level the mix.
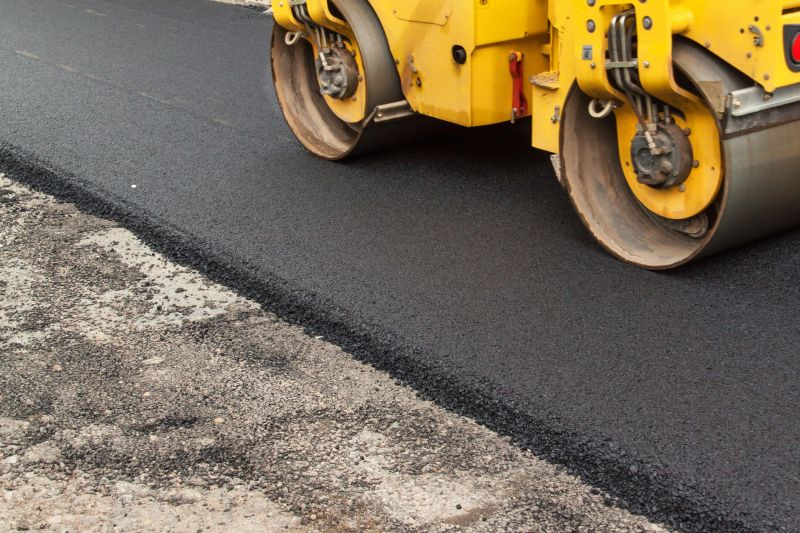
Step 5: Compact the Asphalt
Use an asphalt roller to compact the asphalt mix. Roll over the speed bump area multiple times to ensure proper compaction.
Step 6: Allow to Cure
Allow the asphalt to cure for the recommended time, usually 24 to 48 hours, before allowing vehicles to drive over the speed bump.
Step 7: Test and Adjust
Test the speed bump by driving over it slowly. If necessary, make any adjustments to the height or shape of the speed bump.
Conclusion
Installing an asphalt driveway speed bump is a straightforward process that can greatly enhance safety on your property. By following these steps, you'll have a properly installed speed bump that effectively slows down vehicles.