Asphalt Driveway Excavation | How To
How to Do Asphalt Driveway Excavation
Step 1: Gather the necessary tools and materials
Before starting the excavation process, make sure you have the following tools and materials:
- Excavator or backhoe
- Shovels
- Rakes
- Wheelbarrow
- Marking paint
- Tape measure
- Safety equipment (gloves, safety glasses, hard hat, etc.)
Step 2: Mark the boundaries
Using the marking paint and tape measure, mark the boundaries of the area where you want to excavate for the asphalt driveway. Ensure the dimensions are accurate and clearly visible.
Step 3: Prepare the excavation equipment
Inspect and prepare the excavator or backhoe for use. Ensure it is in good working condition and has enough fuel to complete the excavation process.
Step 4: Start the excavation
Begin by removing any existing vegetation or obstacles within the marked boundaries. Use shovels and rakes to clear the area as much as possible before using the excavator or backhoe.
Gradually dig down to the desired depth, typically around 8-10 inches for an asphalt driveway. Make sure to maintain a uniform depth throughout the excavation process.
Step 5: Remove excess soil
As you excavate, transfer the excess soil into a wheelbarrow or designated area. Dispose of the soil properly or use it for other landscaping purposes if applicable.
Step 6: Compact the excavated area
Once the desired depth is achieved, use the back of the excavator or a compactor to compact the excavated area. This will ensure a stable base for the asphalt driveway.
Step 7: Inspect for proper slope and drainage
Check the excavated area for proper slope and drainage. The driveway should have a slight slope to allow water to run off. Use a level or measuring tools to ensure the slope is adequate.
Step 8: Clear debris and prepare for asphalt installation
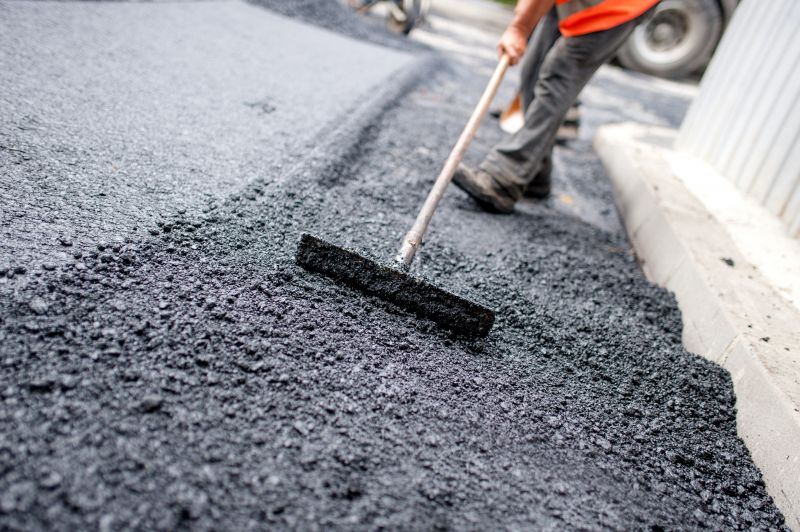
Remove any remaining debris, rocks, or roots from the excavated area. Rake the surface to create a smooth and even base for the asphalt installation.
Step 9: Proceed with asphalt driveway installation
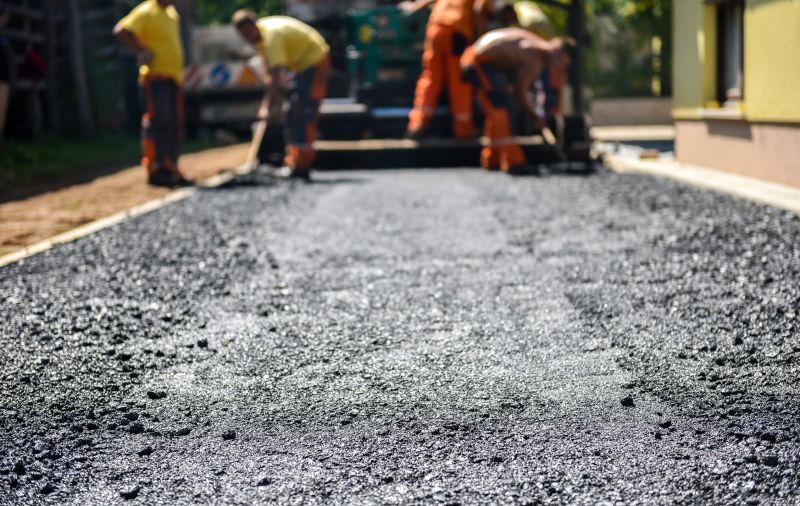
Now that the excavation is complete, you are ready to proceed with the installation of the asphalt driveway. Follow the appropriate steps for asphalt preparation, paving, and finishing.
Remember to always prioritize safety during the excavation process and use proper protective equipment.

